October 21, 2015
What’s DUE?
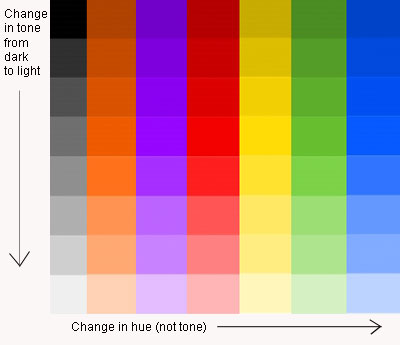
VALUE RANGE RESEARCH:
- Post your paragraphs and 2 images (high key and low key) to the class blog (see Project #3: Phase 1 Guidelines.) Don’t forget to comment on at least 3 other students posts.
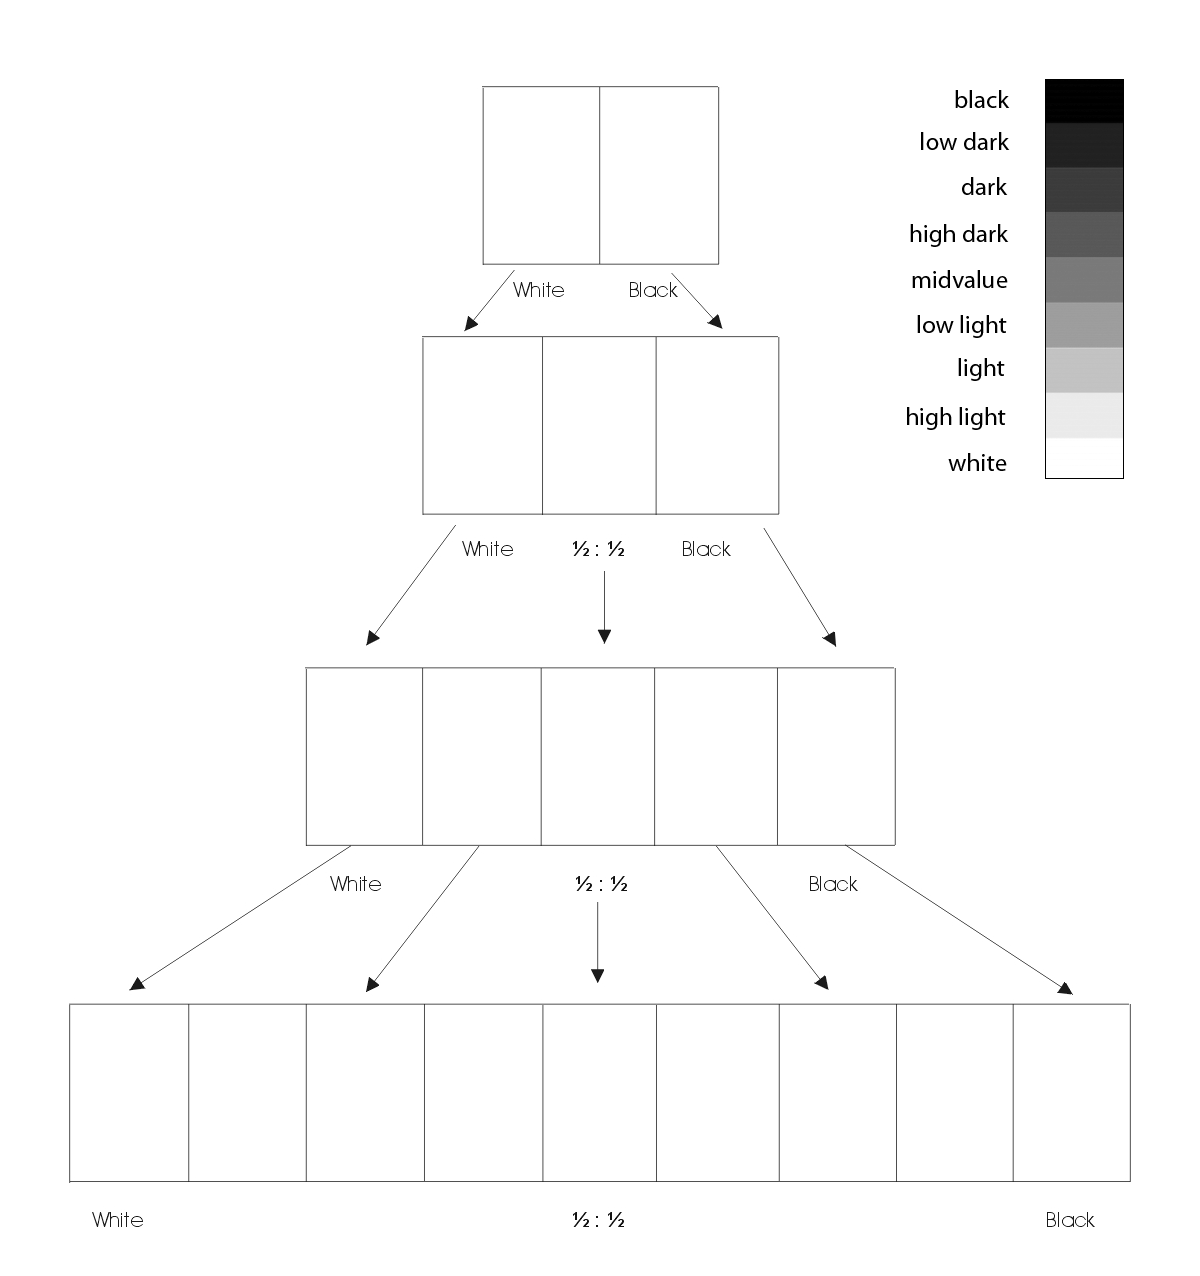
- Bring in the completed value scale exercise we started in class.
HUMUMENT Work:
- Post an image or image gallery of your 5 Project #2 Humument pages.
- Post title: Humument #2
- Category: Humument
- Tags (some or all, depending on your compositions presented): Line, Rhythm, Repetition, Variety, Pattern
Materials needed:
- Download and PRINTOUT 5 laser prints of your portrait ((DOWNLOAD HERE))
- IMPORTANT NOTE: IF you missed the last class and didn’t get your photograph taken, contact the professor BEFORE Wednesday.
- Sketchbook, 9×12″ Bristol, pencils, eraser, knife/scissors, ruler/T-square, drafting tape.
Field Trip at 10 AM!
Meet at 10am at BRIC for a tour of the exhibition “Handmade Abstract” and the BRIC facilities.
Critique
- Review High Key and Low Key posts.
- Review Grayscale.
Lecture
Review Vocabulary
- Elements: Value
- Principles: Emphasis, Focal Point, Contrast, Movement
- PLUS: Open and Closed Value and Scale
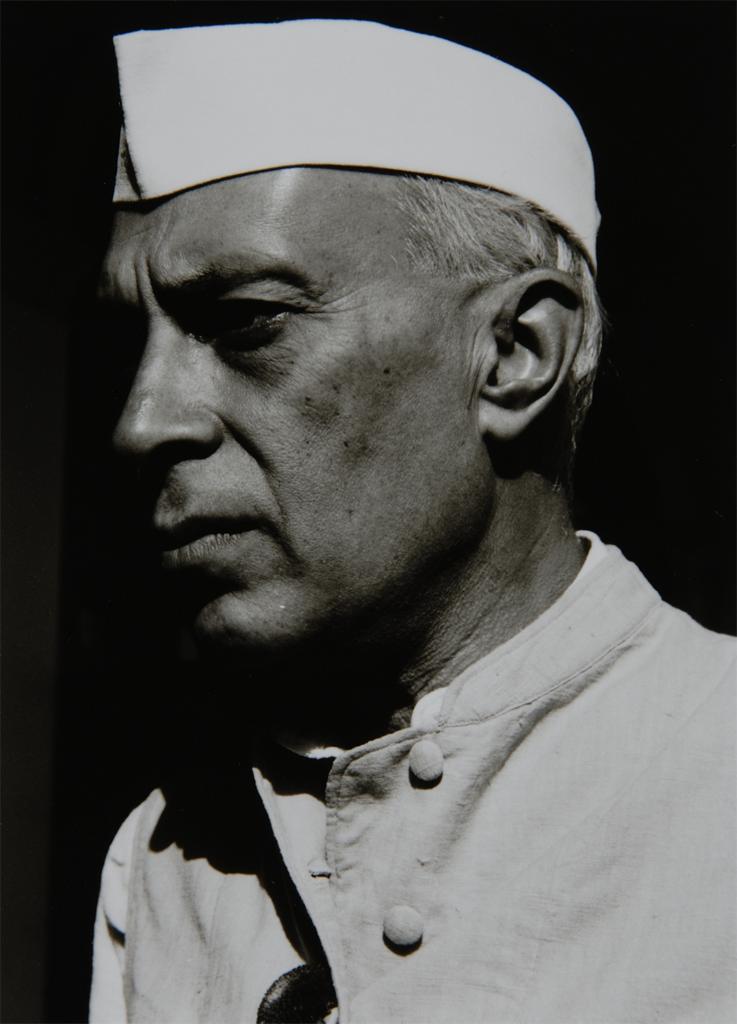
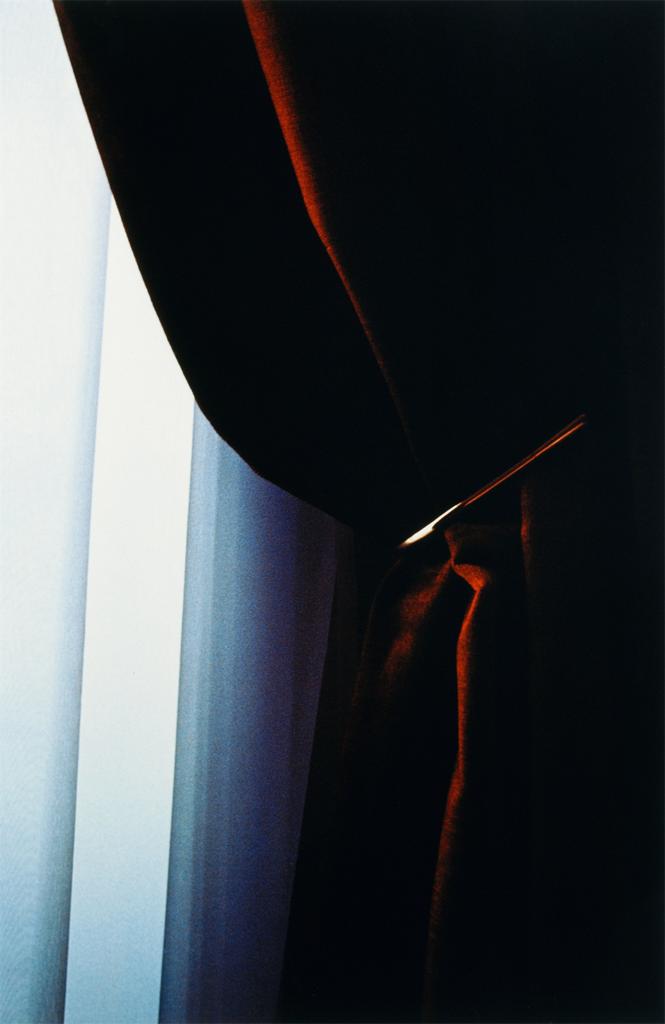
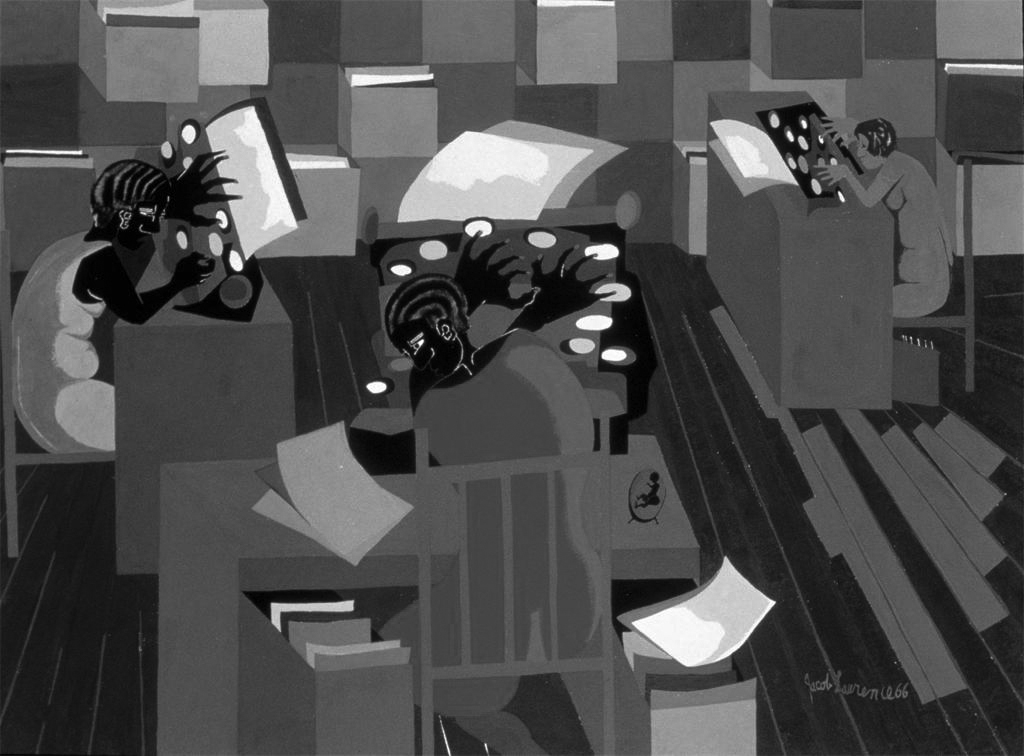
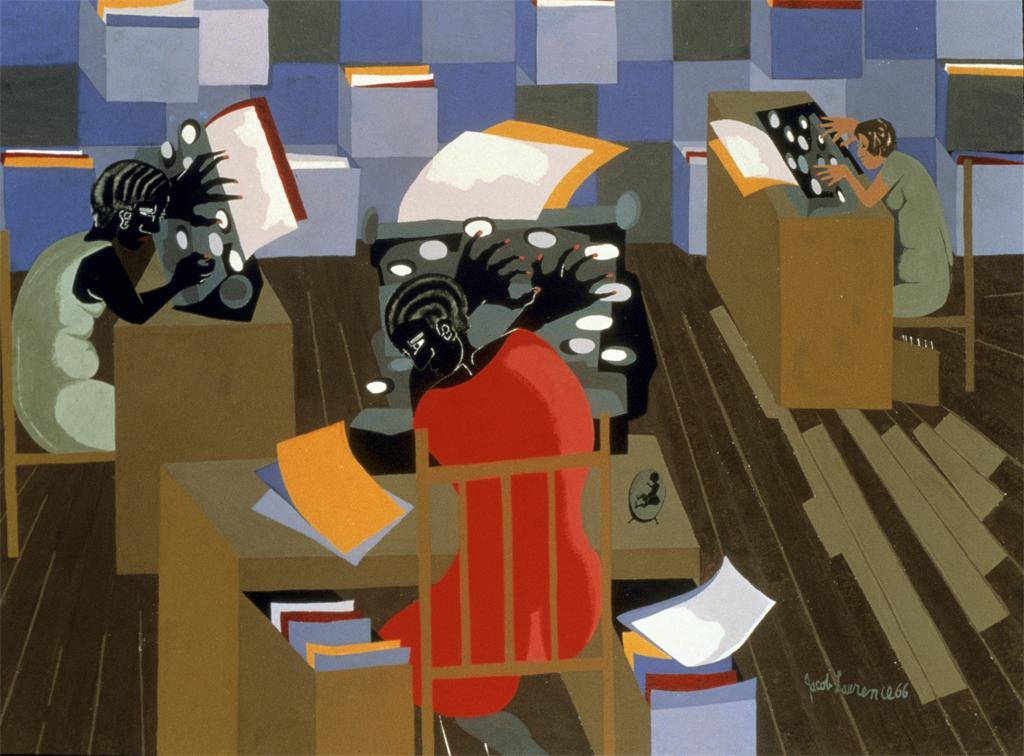
- Closed-Value: Values are limited by the boundaries of shapes and clearly isolate individual parts of the composition. This type of composition could create dramatic mood through contrasting values.
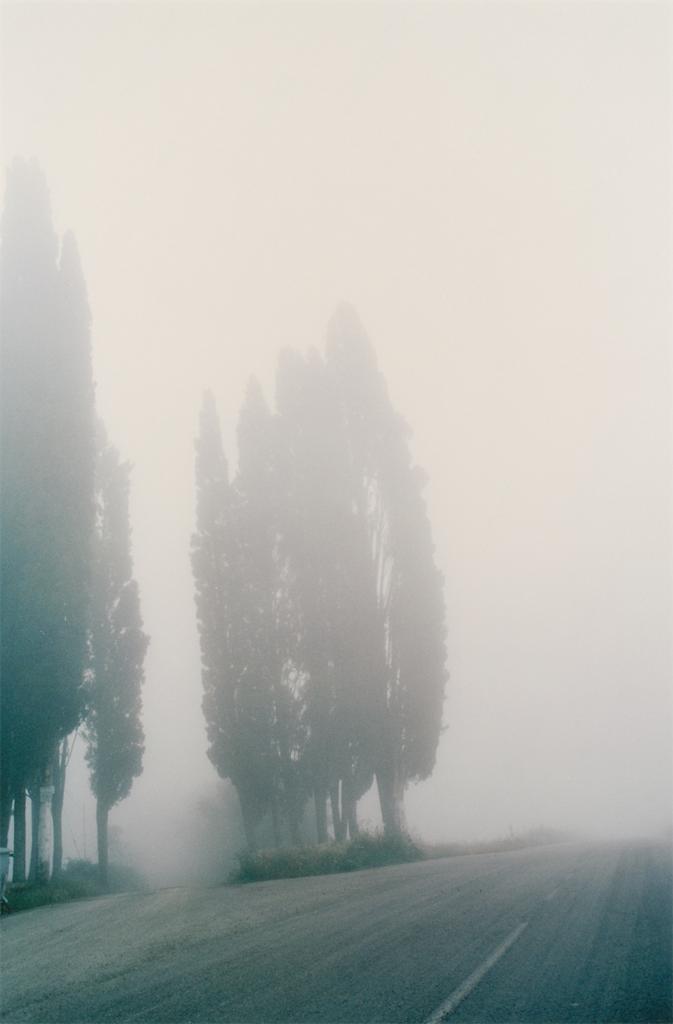
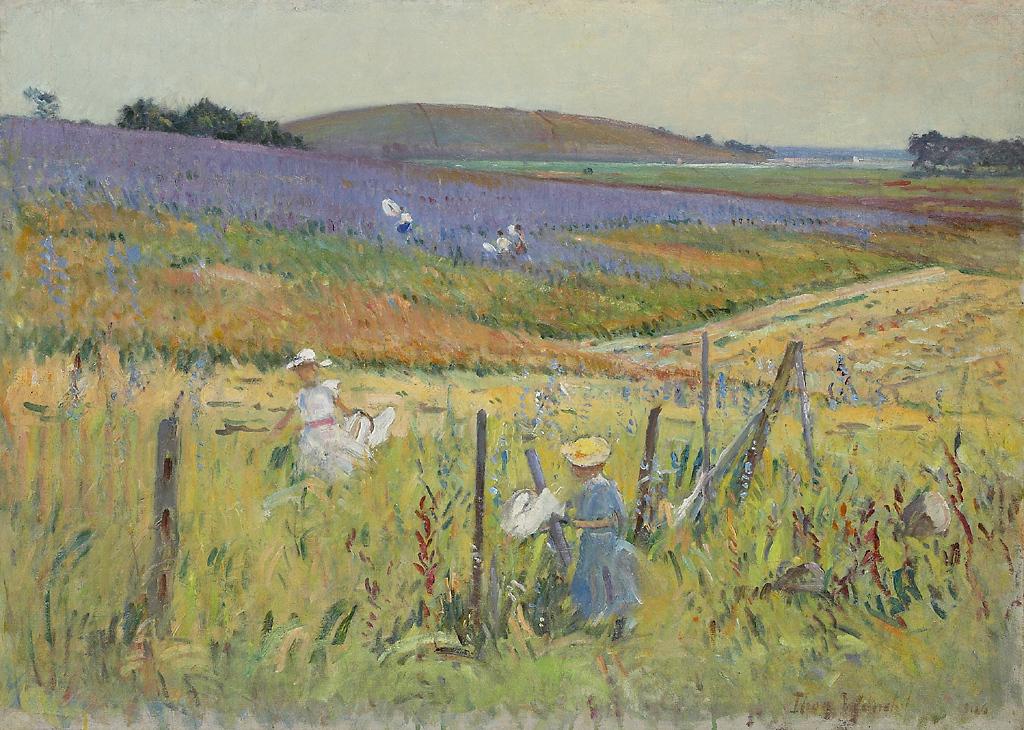
- Open-Value: Values cross shape boundaries, integrating parts with adjoining areas and unifying the composition. This type of composition could create a mysterious fog or haze using closely related values.
- Rule of Thirds: The rule of thirds divides a composition into nine equal parts by two equally spaced horizontal lines and two equally spaced vertical lines. It is considered a compositional rule of thumb. The theory is that if you place points of interest in the intersections or along the lines and avoid the middle square that your composition is more balanced. (examples)
- Proportion: Relationship between parts of a whole or related units.
- Scale: Associations of size, related to a constant size, unit of measure, relative whole (such as a the human body, or picture plane)
LAB – Project #3
Collages
Goal: Create two 6″ collage compositions that use a sense of MOVEMENT to direct the viewer to a clear FOCAL POINT through the use of CONTRAST and changes in VALUE. (past student examples)
- Using the printouts of the portraits taken last class, cut apart your portrait into a variety of squares or rectangles.
- Rearrange and experiment with your portrait pieces until your develop (2) unified, but ABSTRACT, 6″x6″ compositions as follows:
- (1) Narrow Value Range: either high-key or low-key
- (1) Broad Value Range
- In each composition:
- Create a focal point wherein one area or element is emphasized through contrast in scale and value.
- Use Movement to clearly direct the viewer’s eye to the focal point.
- Use Value steps to support transitions from one compositional element to another.
- Avoid reconfiguring your compositions using recognizable facial features (eyes, nose, mouth).
- Examine the lines and shapes that make up your portrait and create new shapes and lines that convey a certain mood.
- DO NOT GLUE THEM DOWN YET!
NEXT
- Take a photo of your finished and approved collages, just for future reference.
- Make sure each piece of your composition is properly marked on the back, indicating the TOP and numbered from left to right, top to bottom.
- Position each piece in your collage composition on a piece of paper. Use a small bit of tape on the back to adhere your pieces to the paper.
- Keep everything clean and neat.
Homework
- Complete Project #3: Phase 2. Come ready to work on your paintings.
- Rework Project #3 Phase 1: Value Range Research Posts and Value Scale Research (Grayscale), if necessary.
Materials Needed:
- white and black gouache paints
- sable-type watercolor brushes (do not buy brushes for acrylic or oil)
- FLAT: 1/2″ angle, #4
- ROUND: #1, #5
- two water containers (yogurt cups, soda bottles with tops cut off, soup cans)
- palette (round 10-well)
- cotton rags (old white t-shirts or scraps)
Print this page