Category Archives: Lecture

COMD Class 3 | More Figure Ground

September 9th, 2015

Groupwork Review (15 min)

Students break into groups and review project Principles:

  1. Figure-Ground (Obvious and Ambiguous) Group
  2. Unity and Economy Group

Research and discuss your group’s concepts. Use the following guidelines and outcomes.

  • Designate 1 speaker and 1 idea recorder
  • Make a free-flowing list of ideas related to your concept.
  • Refine principle definitions in your group’s own words and find examples of your concept (student work, drawing on chalkboard, book, magazine, or online images)
  • Present the definition and at least 2 examples of the principle discussed.

Critique (30 min)

Project #1 | Urban Artifacts Compositions & Humument Book

  • Present all 12 sketches. 4 of these should be refined sketches (2 obvious, 2 ambiguous).
  • Discuss what works and what doesn’t work using the vocabulary above.
  • Present your Humument book and explain how/where/why you chose the book.

Demo (15 min)

Inked Sketches

  • The goal with this work is to refine your compositions to create (2) obvious figure / ground relationships and (2) ambiguous figure/ground relationships using an economy of organic and/or geometric shapes. The final compositions should be unified.
  • On 4 sheets of 9×12″ Bristol Board, measure a 9″x6″ rectangle with your ruler and t-square . There should be a 1.5″ margin on each side. Do this very lightly in a hard pencil. It should be barely visible.
    NOTE: Adjust the orientation of the page (portrait or landscape), as needed, but consider the series as a whole.
  • Based on the critique, take your 2 refined obvious and 2 refined ambiguous figure-ground compositions and transfer them to the Bristol Board using very light pencil. Feel free to use tracing paper and light table or retrace your original objects.
  • Be sure to compare with your original refined sketches. Do the compositions still feel unified?
  • Use a brush pen to fill in the black areas and erase all extraneous pencil lines and measurements.
  • The final work should be neat, clean and well-presented.
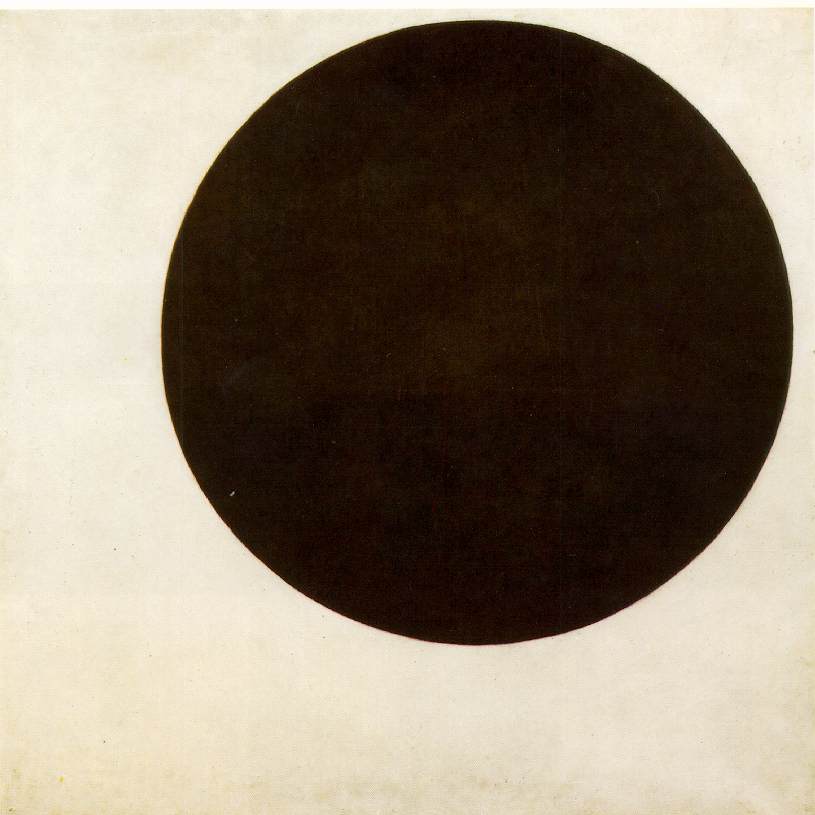
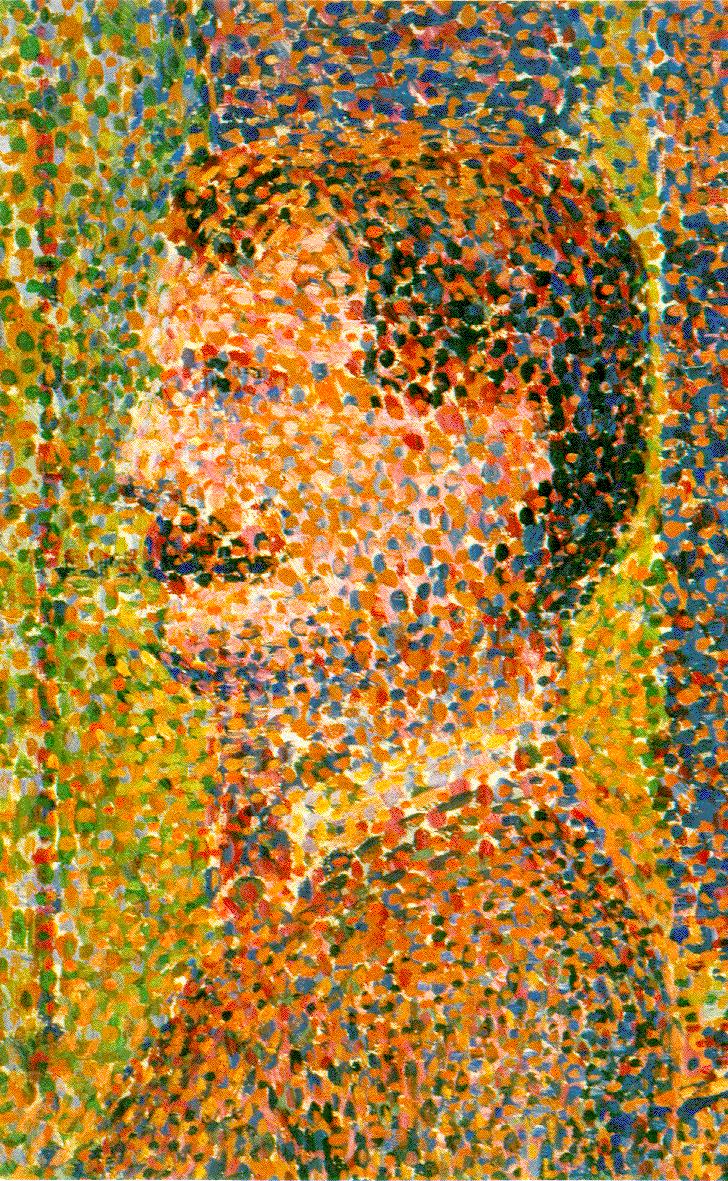
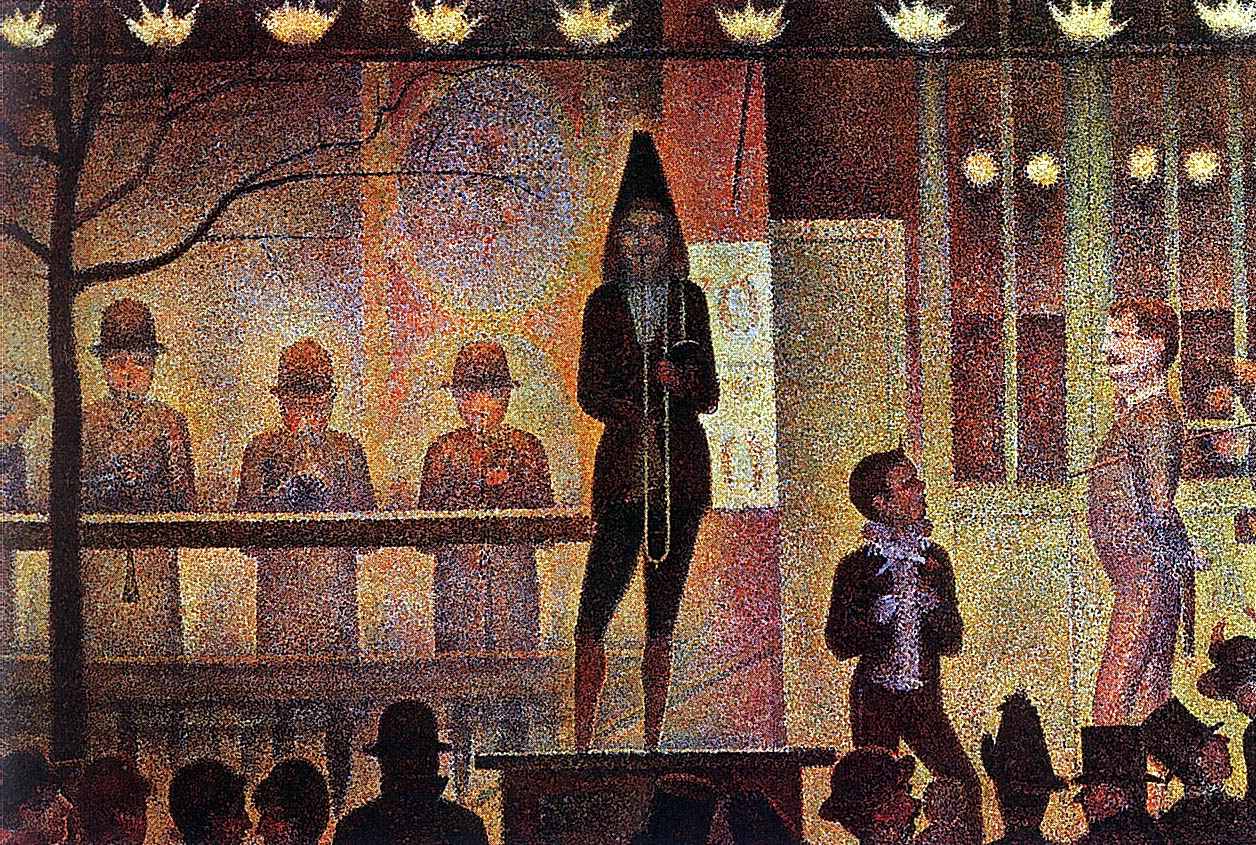
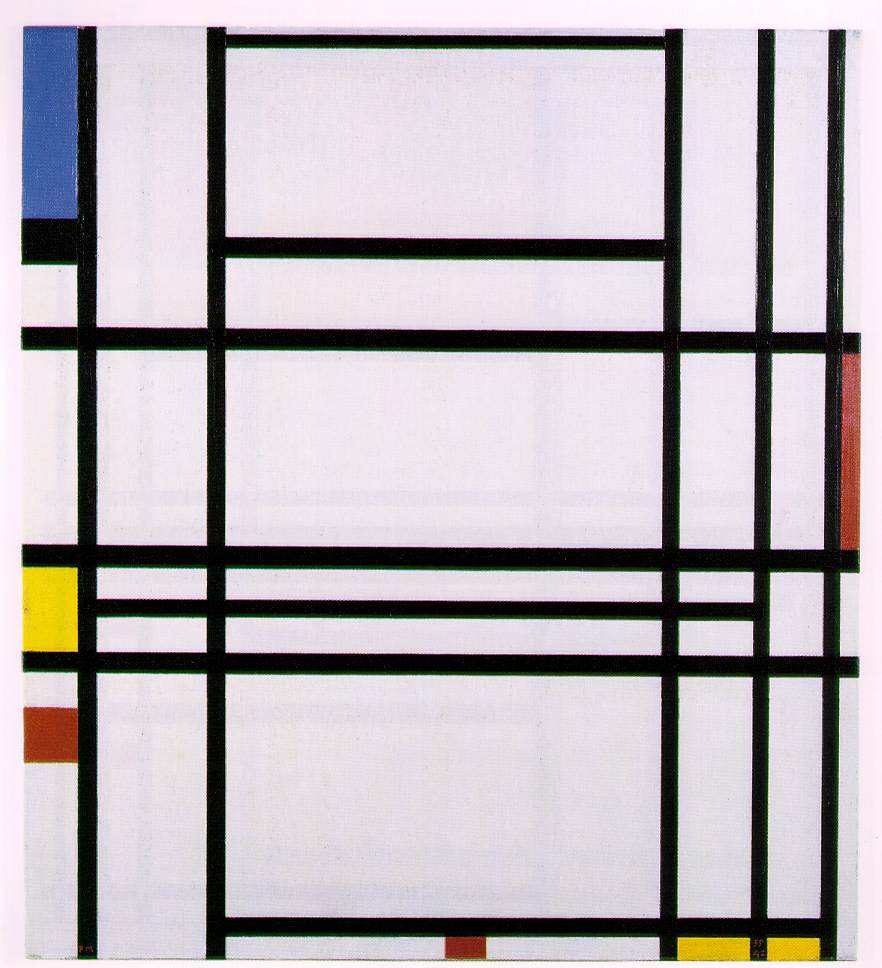
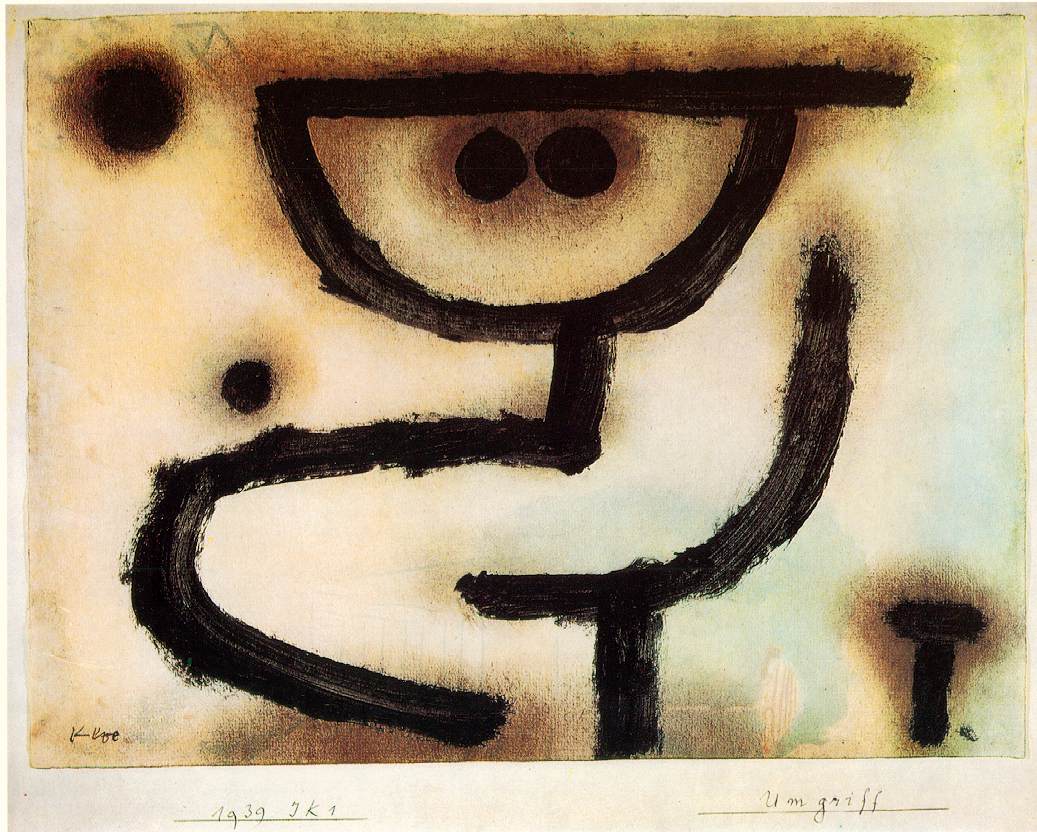
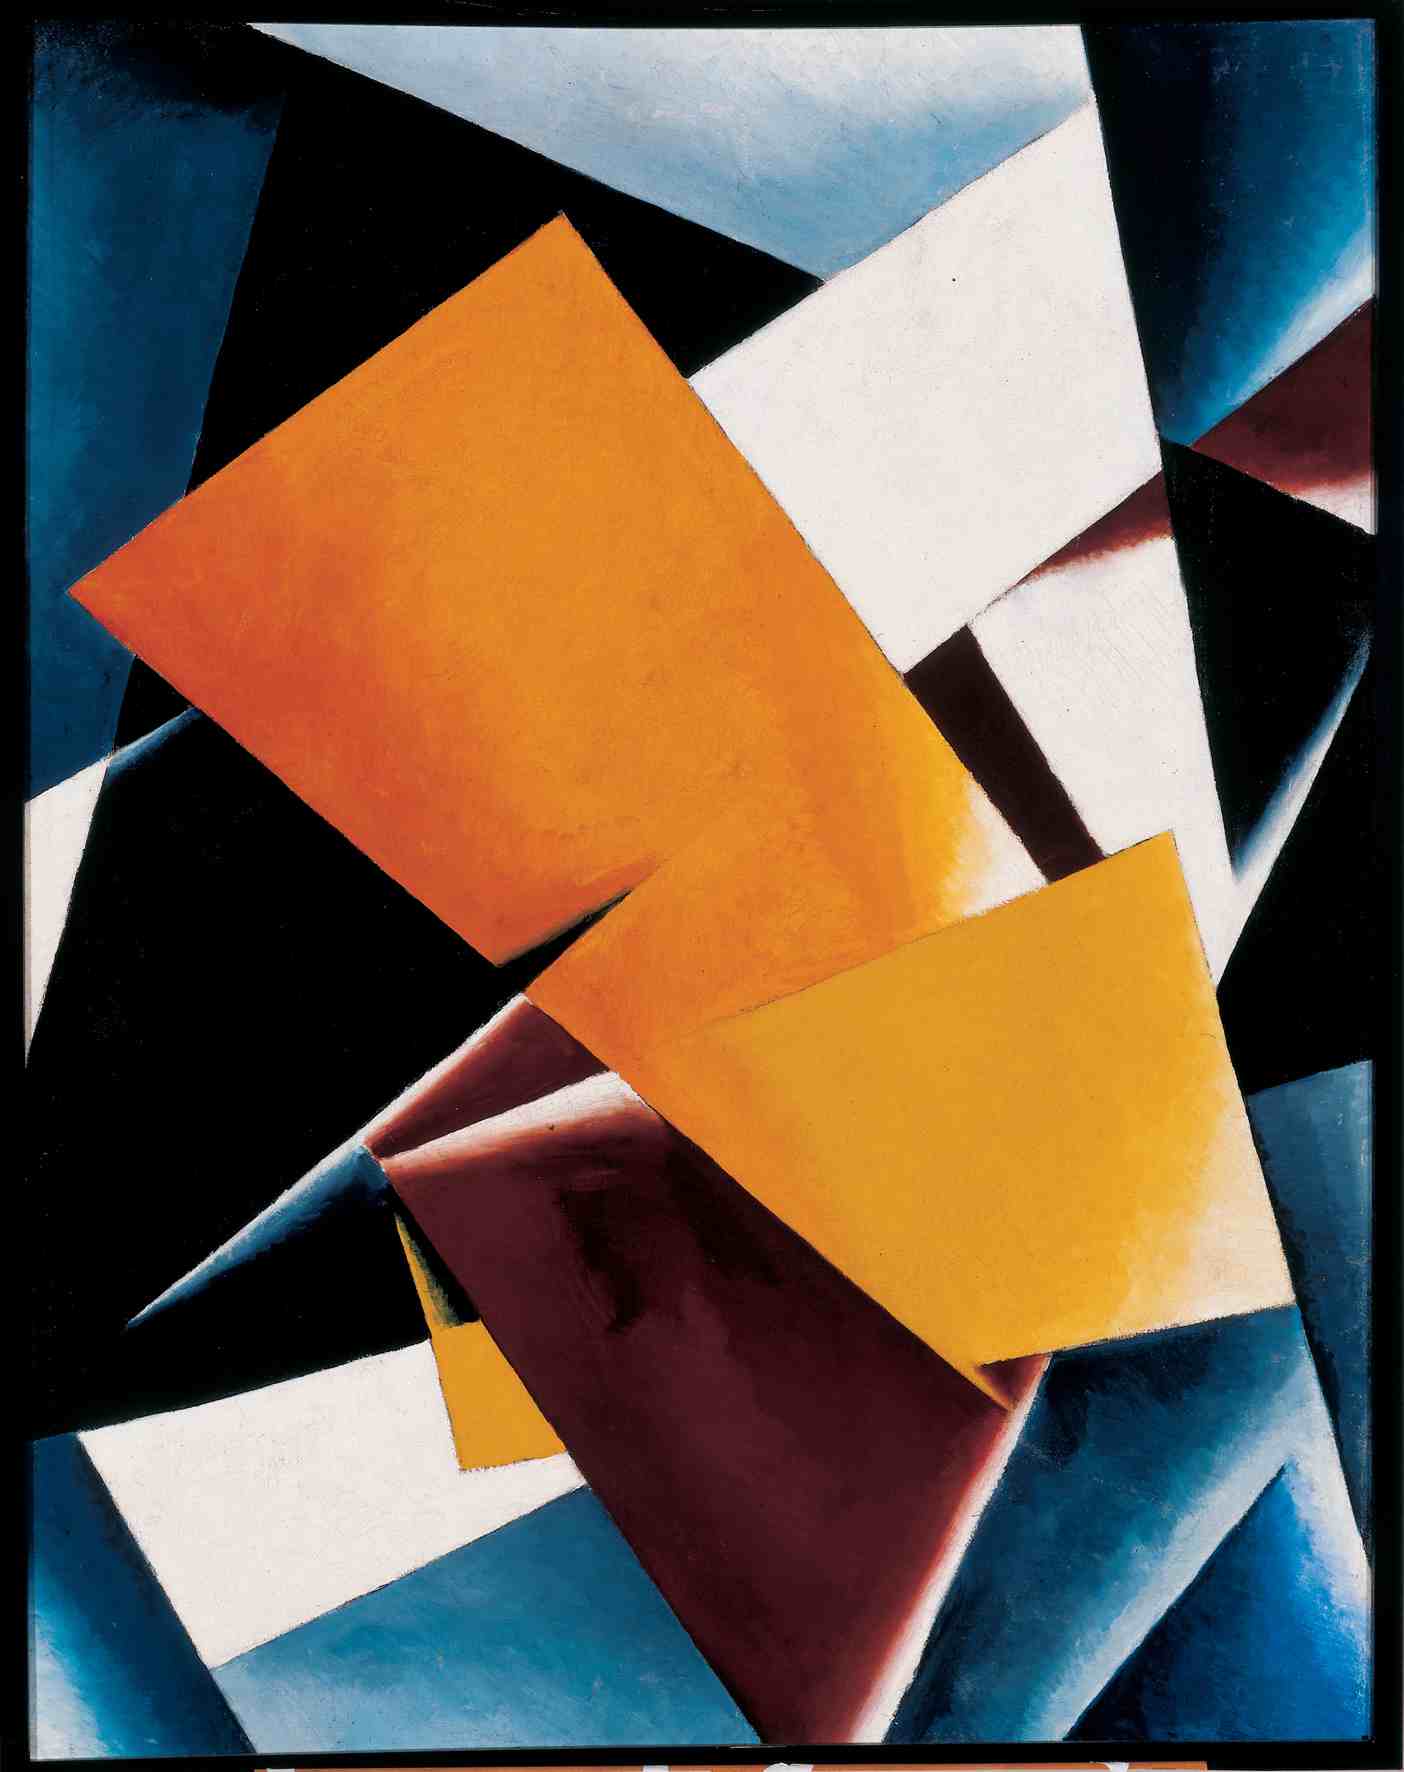
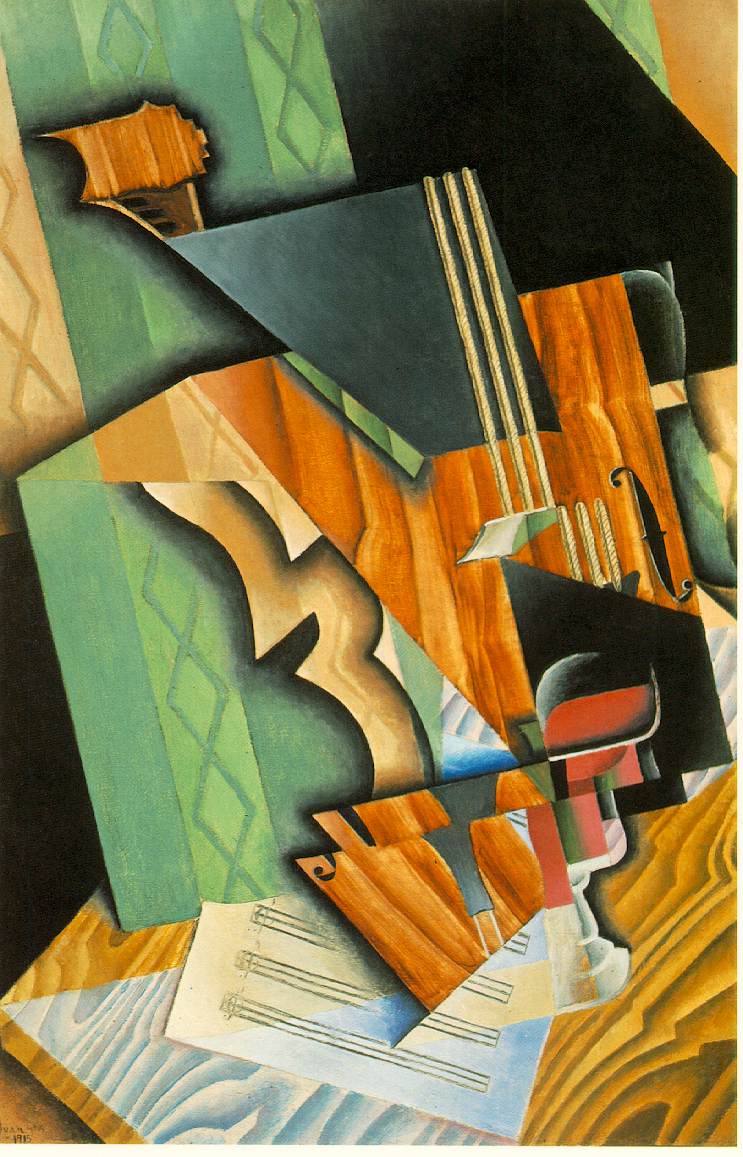
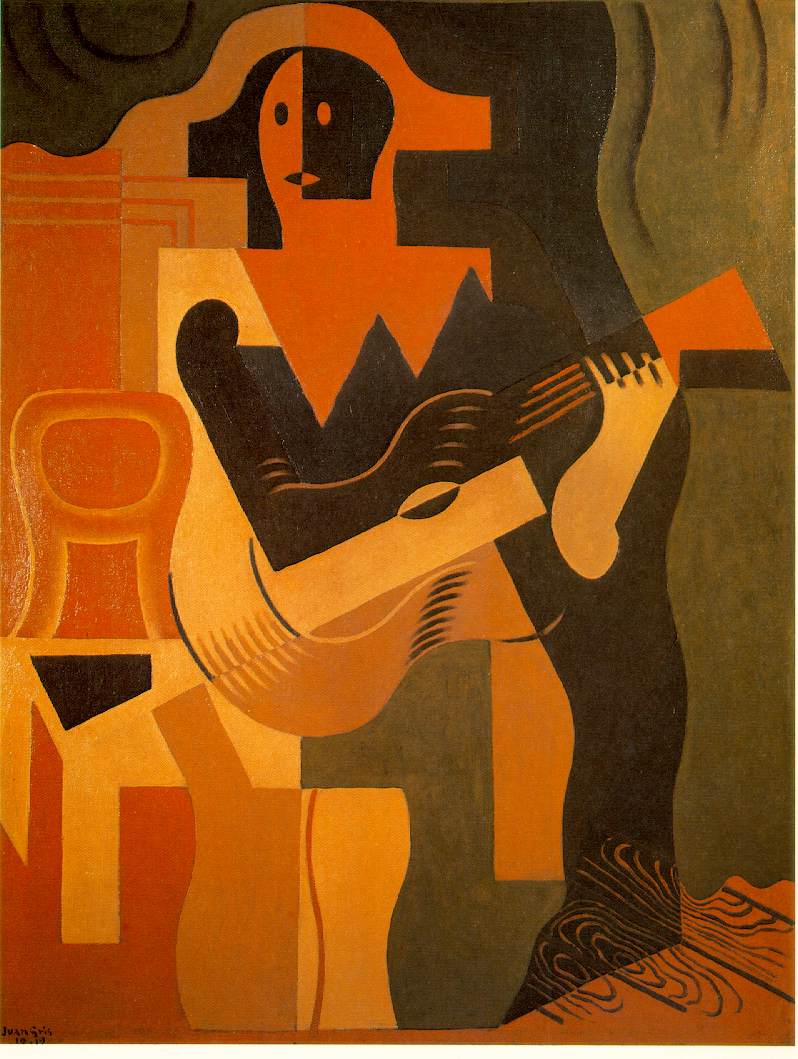
  • REFERENCES: In these two examples notice the consideration of the figure-ground relationship and how it helps to unify the overall composition.
    John Currin | Rousseau

Documentation and Feedback

  • Create a new blog post called Urban Artifacts: Phase 2.
  • Write a short description of the work you are presenting.
  • Take photos of your finished Inked Sketches and add them to the post (make sure they are well-lit and in focus.)
  • Include the hours that you worked on this part of the project.
  • Don’t forget to comment on at least 3 other student’s posts.

Lab (1 hr 30 min)

  1. Based on the critique, work on your Inked Sketches, refine your original sketches, or post/comment on Ways of Seeing blog.
  2. Individual meetings with Professor.

Homework

  1. Continue work on your Inked Sketches. Come prepared to present your work.
  2. If you finish your Inked Sketches, bring in materials to create Cut Paper Compositions in class.
  3. If you haven’t kept up with COMD posting and commenting on the Ways of Seeing blog… ASK FOR HELP! You will have until next class to do so and then points will be deducted from your grade.
  4. Materials needed next class (see Supply List for specifics):
    • 14×17″ Bristol
    • black drawing paper
    • scissors
    • exacto knife
    • glue
    • ruler/t-square
    • pencils
    • tape
    • sketchbook (always)
    • Inked Sketches (In Progress)

Print this page Download PDF

COMD Class 2 | Figure Ground & Design Process

September 2, 2015

Materials needed for THIS CLASS (see Supply List for details):

** Note: if you are unable to afford these items due to financial aid delays, please make arrangements with a classmate to borrow or share supplies.

Lecture

The Elements: basic components used as part of any composition, independent of the medium.

  1. Point: An element that has position (x,y), but no extension or mass. A series of points forms a line, a mass of points becomes a shape.
    Malevich Black Dot| Seurat La Parade detail | Seurat La Parade du Cirque
  2. Line: An series of points, which has length and direction. It can be the connection between two points, the space between shapes, or the path of a moving point. A closed line creates a shape.
    Mondrian | Klee
  3. Shape: Created by line (contour) or a grouping of points, it is an area that is separate from other areas, defined by its perimeter.
    Popova
    | Gris | Gris
  4. Organic shape: is one that resembles the flowing contours of an organism.
  5. Geometric shape:  such as circles, triangles or squares often have precise, uniform measurements.

The Principles: basic assumptions that guide the design practice.

  1. Frame: This boundary (rectangle, square, circle) is represented by the edges of the paper or the margins drawn within.
  2. Figure (positive space): The shape of a form that serves as a subject in a composition.
    Craig Stephens | Matisse
  3. Ground (negative space): The space surrounding a positive shape or form; sometimes referred to as ground, empty space, field, or void.
    Matisse | Rubin’s vase
  4. Figure/Ground: The relationship between positive and negative space.
    MC Escher | GDBasics
  5. Obvious (stable) Figure/Ground:  A figure/ground relationship that exists when a form stands clearly apart from its background.
  6. Reversal Figure/Ground: A figure/ground relationship that occurs when positive and negative elements are equal and alternate.
  7. Ambiguous Figure/Ground: A figure/ground relationship that challenges the viewer to find a point of focus. The figure and ground seem unclear.
  8. Unity: Refers to the cohesive quality that makes a composition feel complete and finished. Unity gives it the feeling that all the elements relate to each other in a compatible way to form a unified whole.
  9. Economy: Using only the elements necessary to communicate an idea, emotion, or formal concept. Less is more.

STUDENT EXAMPLES: Can you determine which image demonstrates Obvious and Ambiguous Figure/Ground? And why? Are they all successful or could some be improved? How?
Example 1 | Example 2

Lab1 : Project 1

  1. Introduction
  2. Demonstration

Lab2 : OpenLab Introduction

  1. Create an account and/or sign in.
    NOTE: You need be able to access your City Tech email before signing up for OpenLab. Check this page for instructions for City Tech email access or contact HelpDesk (718-260-5610).
  2. Join our First Year Learning Community Course: Ways of Seeing
  3. Post the writing and any thumbnail sketches completed in class. Follow the Design Process Guidelines.

** If you missed this class, please make an appointment to visit the Professor during office hours (Monday 2-4pm).

Homework

  1. Complete Design Process Blog posts for Project #1: Phase 1: Discover 
  2. Refine 4 of your sketches (2 stable, 2 ambiguous).
  3. Review Project #1: Define > Inked Sketches and come prepared to ink in class.
  4. Materials Needed for NEXT CLASS (check Supply List):
    • NEW ITEM: Faber-Castell Pitt Big Brush Pen
    • Sketchbook
    • pad of Bristol board (9×12″ Bristol 2-ply smooth plate finish)
    • inking pens (.02, .05, and brush – Pigma Micron or similar)
    • ruler/t-square/triangle
    • 2H-4H pencils
    • drafting or removable tape
    • roll of tracing paper (18+” wide)
    • portfolio

Print this page Download PDF

Class 1 | The Beginning

Introductions (1 hour)

Verbal presentations are an integral part of this course.  To get started, we will go around the room and introduce ourselves (2 min. each). Please follow the guidelines below:

  1. Clearly state your full name and your career or academic goal.
  2. Choose 3 words to describe your personality.

Learning Community and Course Overviews (1 hour)

Welcome to Ways of Seeing. This First Year Learning Community for COMD students taking COMD 1100 & ENG 1101 will include field trips, hands-on projects, and cross-sensory experiences to help you discover and express your creative vision. One of the goals of the course is to integrate the concepts covered in both courses, find connections, and explore the variety of ways we see, hear, speak, touch, and understand the world.

  • What is a Learning Community?
  • What is a Peer Mentor?

Introduction to ENG1101: English Composition 1

  • Professor Rosen will introduce the ENG1101 syllabus and give an overview of the course.

Introduction to COMD1100: Graphic Design Principles 1

This design and color theory course explores graphic communication through the understanding of the elements and principles of design, as well as the design process, from idea development through final execution.

What is Design?
To design is to plan or arrange elements in order to communicate a thought, feeling, or concept. Design can also be described as the organization of information.  This information can be visual, aural, informational, or tactile.

The products of design are compositions — arrangements of elements. We will focus primarily on the arrangement of visual elements in this course, but we will also consider how all our senses affect how we interact with and understand the world.

Why Learn Design?
A good designer, independent of the medium (data, sound, pixels, paint, wood) has a significant advantage in the world, because s/he can influence what people see/feel/do.

How do you become a good designer?
First you must learn the fundamental tenets or guidelines. When building a sturdy house you need a strong foundation. When learning a new language you need to master grammar. It takes patience, attention to detail, and dedication to the craft.

Good designers love problem-solving. They love a challenge. They are inquisitive investigators with a strong internal motivation. They use all of their senses to find inspiration and solutions to design problems. Like a scientist they research, experiment, and repeat– until they arrive at the best solution to the problem they face. Their first idea is rarely the best.

A good designer follows a design process.

What is a Design Process?
A Design Process is the workflow a designer uses to produce the best work s/he can. Following a clear design process gives structure to design problem and helps to bring an idea from conception to final delivery. It is especially helpful when collaborating with others.

The primary design process we will follow in this class is:

Phase 1: Discover: Inspiration and Exploration
Phase 2: Define: Experimentation, Iteration and Feedback
Phase 3: Develop: Refined expression of Form, Skill, Craft and Voice
Phase 4: Deliver: Professional verbal, written, and visual presentation; critical reflection

Review of Course Documents

Writing Exercise

  • Professor Rosen will introduce a writing exercise.

Lunch Break & Group Work (30 min)

  • Grab some lunch and bring it up to N1122
  • Eat and meet with your group.

Design Experiment | Urban Archeology Walk (2 hours)

The WALK:

  1. Together we will walk from the classroom to the art supply store, taking a circuitous route and arriving at our destination in about 20 minutes.
    W.C. Art & Drafting Supply Co. 351 Jay Street

  2. Each group will help decide which direction we will travel together.
  3. Along the way each member of your group will be looking for three small “urban artifacts” — detritus, objects or fragments of objects that have been discarded, lost, or destroyed. (3 objects per person.)
  4. Think about the history of each object, the color, the shape,  the texture, how it ended up where it did.
  5. Document the location of the object exactly where you found it. Take a photo and record the location or street intersection. We will add these photos to a shared Google Map next class.

References:

The COMPOSITION:

  1. Once we return from the walk, reassemble into your group.
  2. Take 5 minutes to choose one word to describe your group based on the personalities of the members in your group. Start by making a list of words that describe each member and find words that overlap.
  3. Using the paper provided, place all your artifacts on the table and experiment by arranging the objects within the boundary of the paper.
  4. Considering both the objects (positive space) and the paper (negative space); arrange the objects in a way that expresses the word you have chosen.

    Example: Say your group’s word is Energetic. And say you have 2 coins, a piece of string, a plastic straw, a fragment of a coffee cup, a bottle cap, a sugar packet, a stick, and a candy wrapper. Think about the shape, color, texture, and size. Then position these objects in a way that visually describes the word energetic.

  5. NOTE: Do not use text or attempt to spell out your group’s word. Avoid using logos or an object’s existing imagery to communicate.
  6. Take photographs of each version of your compositions along the way.
  7. Present your composition to the class. We will try to guess the word.

The RECORD:

Our shared Google Map will be listed here tomorrow. We will add our object locations and photos next class.

Homework

  1. Become a member of our OpenLab course:
  2. Explore the class website: profspevack.com/designcolor

Materials needed for NEXT CLASS (see Supply List for details):

** Note: if you are unable to afford these items due to financial aid delays, please make arrangements with a classmate to borrow or share supplies next class.

Print this page Download PDF