Problem: Create black and white portraits that convey a mood or feeling using the rule of thirds, stable figure ground and a clear focal point.
Limits: Use a narrow value range in low (dark) key; achromatic grays
Materials: Sketchbook, pencils, Bristol Board 9×12″, gouache paints, brushes, palette, rags, water container, photoshop
Concepts: Value, grayscale, achromatic, focal point, contrast, shadow, highlight, narrow value, broad value, high key, low key, open-value composition, closed-value composition, Rule of Thirds
Technical Skills: thumbnail sketching, painting techniques, photography & lighting techniques, digital tools
Design Process:
- Discover – Hand Portraits & Value Scale
- Define – Noir-style Self Portraits
- Develop – Media Transformations – Paint and Pixel
- Deliver – Post and Comment
1. Discover
Hand Portraits
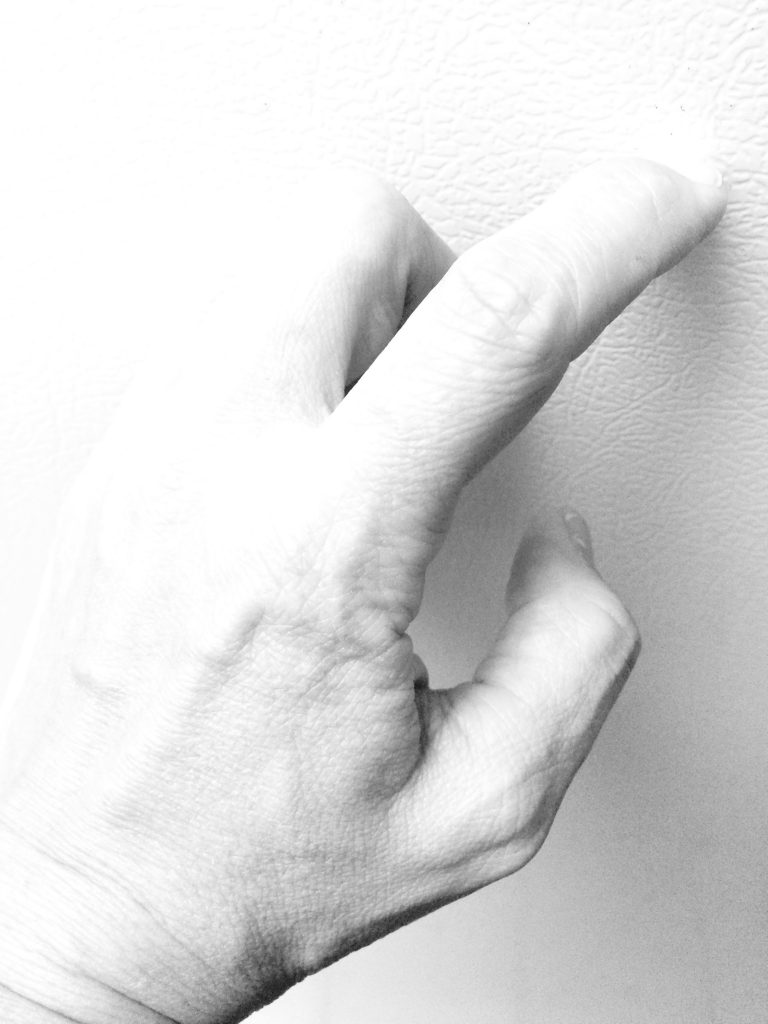
narrow value (light) 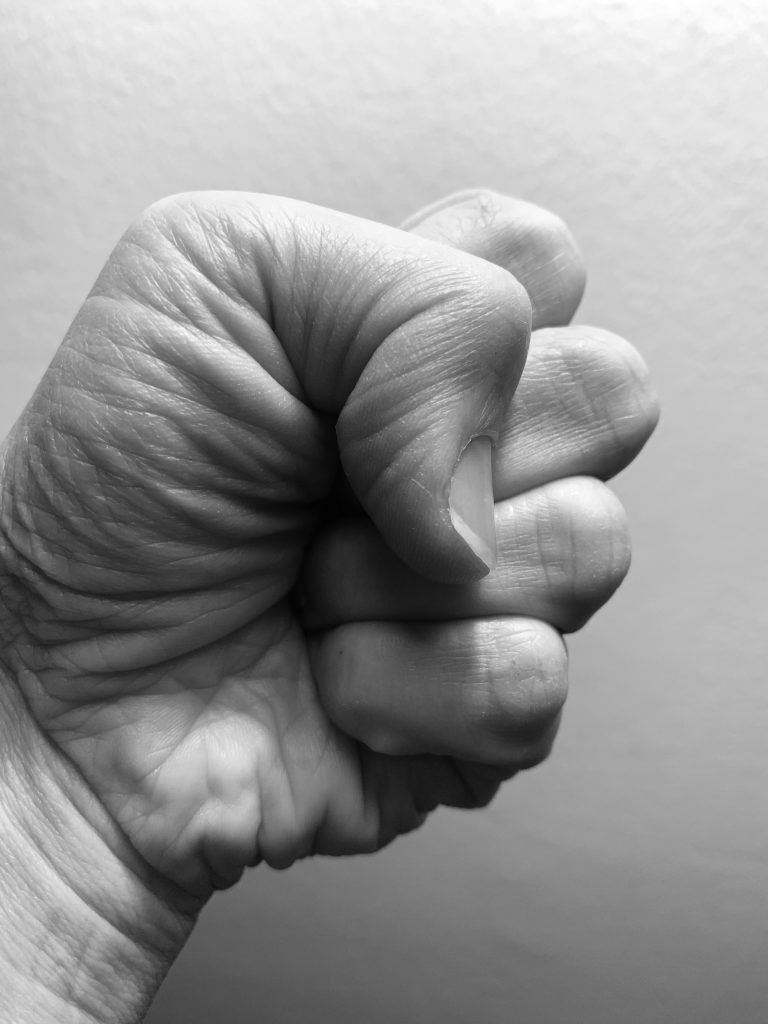
broad value 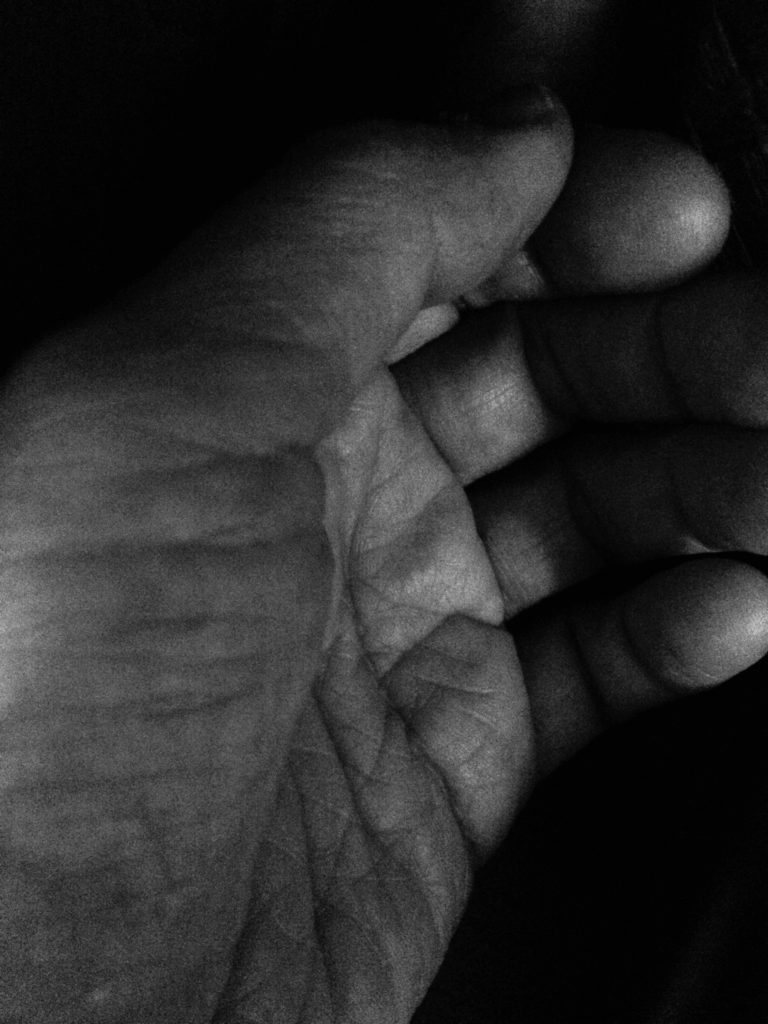
narrow value (dark)
- Using a camera or camera phone*, compose photographs of your hands with the following value ranges:
- (1) narrow value range / light – predominately light end of the grayscale
- (1) narrow value range / dark – predominately dark end of the grayscale
- (1) broad value range – spread across the grayscale (dark, middle, and light).
- If you have the ability to shoot with a grayscale, black & white, or noir filter, please do.
- Try to create an expression of feeling by how you hold your hand.
- Allow the value range: light, dark, broad to affect the mood.
Writing
- Designate a new section of your sketchbook and write ‘Value Range Research’.
- Compose a minimum 2-paragraph description, with specific references to your hand portraits, indicating how the value range sets the mood of the composition. Also notice how the forms in the composition create highlight and shadow relationships; some may be abrupt, others may have a gradation of value from light to dark.
- How does the contrast between light and dark contribute expressive quality (mystery, drama, success, joy, etc) of the compositions?
* If you don’t have a camera, please partner with another student who does.
Value Scale
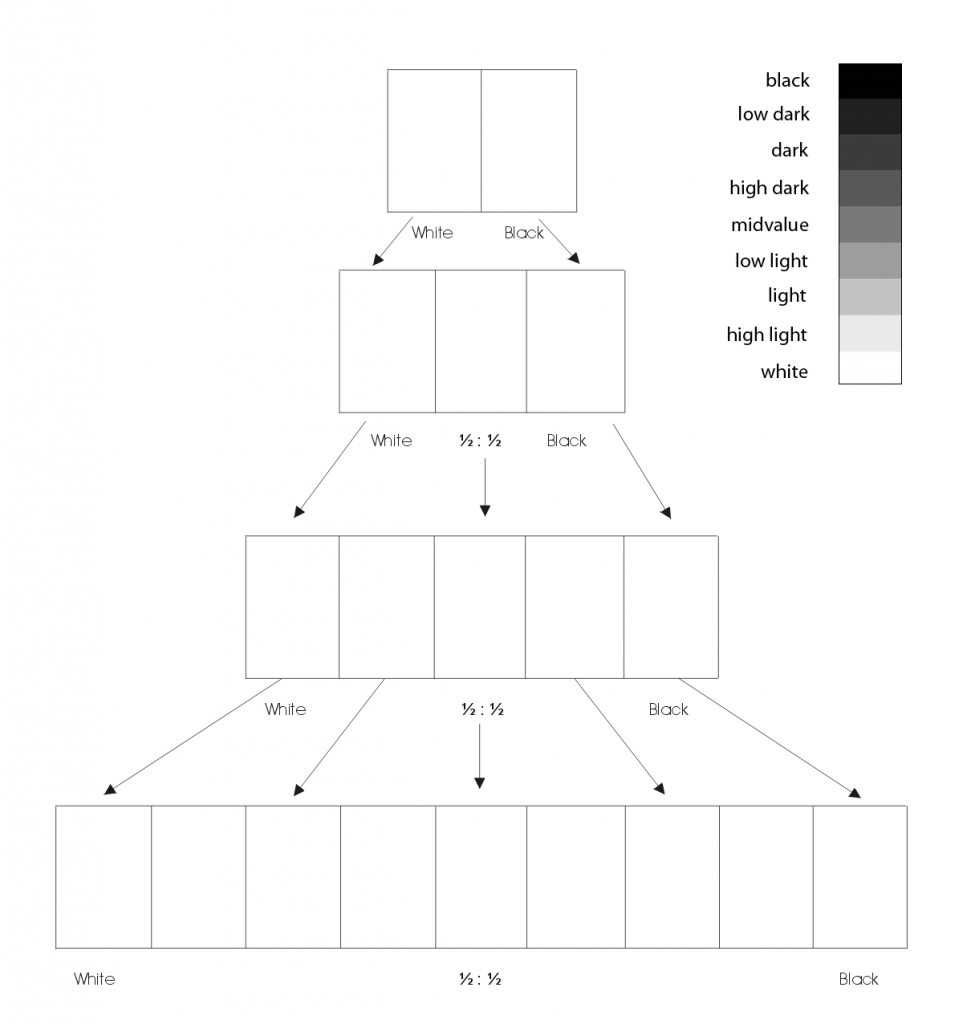
Complete the Achromatic Value Scale using a range of pencils (2H-5B)
- On the handout provided, complete the four scales starting with 2-step (black/white) and ending with 9-step.
- Your 9-step value scale should have black, low dark, dark, high dark, mid-value, low light, high light, and white.
2. Define
Vocabulary
- Value: Signifies the relative differences of light and dark
- Achromatic Value: Value with the absence of hue (color).
- Grayscale: The full range of values simplified into a graduated scale.
- Narrow Value Range: When the values congregate around the dark (low-key), middle (middle-key), or light (high-key) part of the grayscale.
- Broad Value Range: When the values are spread over the dark, middle, or light part of the grayscale.
- Shadow: Dark area of an object as a result of a disruption of the light source.
- Highlight: Portion of an object that receives the greatest amount of direct light
- Contrast: Occurs when elements are unrelated or dissimilar in value, size, shape, etc.
- Chiaroscuro/Tenebrism: Forceful use of contrasting lights and darks, creating a dramatic mood.
- Film Noir: a cinematic term used to describe a visual style that emphasizes low-key lighting and unbalanced compositions.
- Focal Point: The elements or objects on which the viewer’s attention is focused.
- Rule of Thirds: A compositional guideline; an image is divided into nine equal parts by two equally spaced horizontal lines and two equally spaced vertical lines. Important compositional elements should be placed along these lines or their intersections to create tension, energy and interest, rather than simply centering the subject.
Value Self-Portraits
On your own or with a partner, take a series of closely framed, black & white/grayscale self-portraits that convey a dramatic mood using strong contrast of light and dark and a stable figure-ground relationship. Utilize the Rule of Thirds to create tension or energy in the composition. Avoid centering the subject (yourself).
IMPORTANT: Research Film Noir lighting and the jazz photographs of Roy Decarava before taking your photographs.
- Post your portraits to the Visual Library for critique.
- Choose your best portrait and save the original (from your camera/phone) to Dropbox, GDrive or a thumb drive.
3. Develop
Painting Prep:
- Locate your original (highest-resolution) self-portrait and rename it: yourname-selfportrait.jpg.
- Open the file in Photoshop: File > Open
- In Photoshop, locate the Layers Palette: Window > Layers
- From the Adjustment Layer icon at the bottom of the Layers Palette, add a Posterize Adjustment Layer to simplify your values.
- Adjust until you have between 5-10 levels.
- You should be able to pick out light, midtone, and dark values.
- Save your file as yourname-selfportrait-posterize.jpg
- Print your portrait to tabloid paper at Staples or Kinkos/FedEx or any print shop.
- Make sure that “Scale to Fit Media” is NOT checked.
- Your image should be approximately 9″x12″ when printed so that you can trace it to Bristol.
Transfer to Bristol
- Using your posterized portrait printout, trace the outlines of the posterized lights, darks and midtones to a piece of tracing paper using a inking pen (.2 or .5).
- Then use the inked tracing paper and light table to transfer to bristol using a very light pencil.
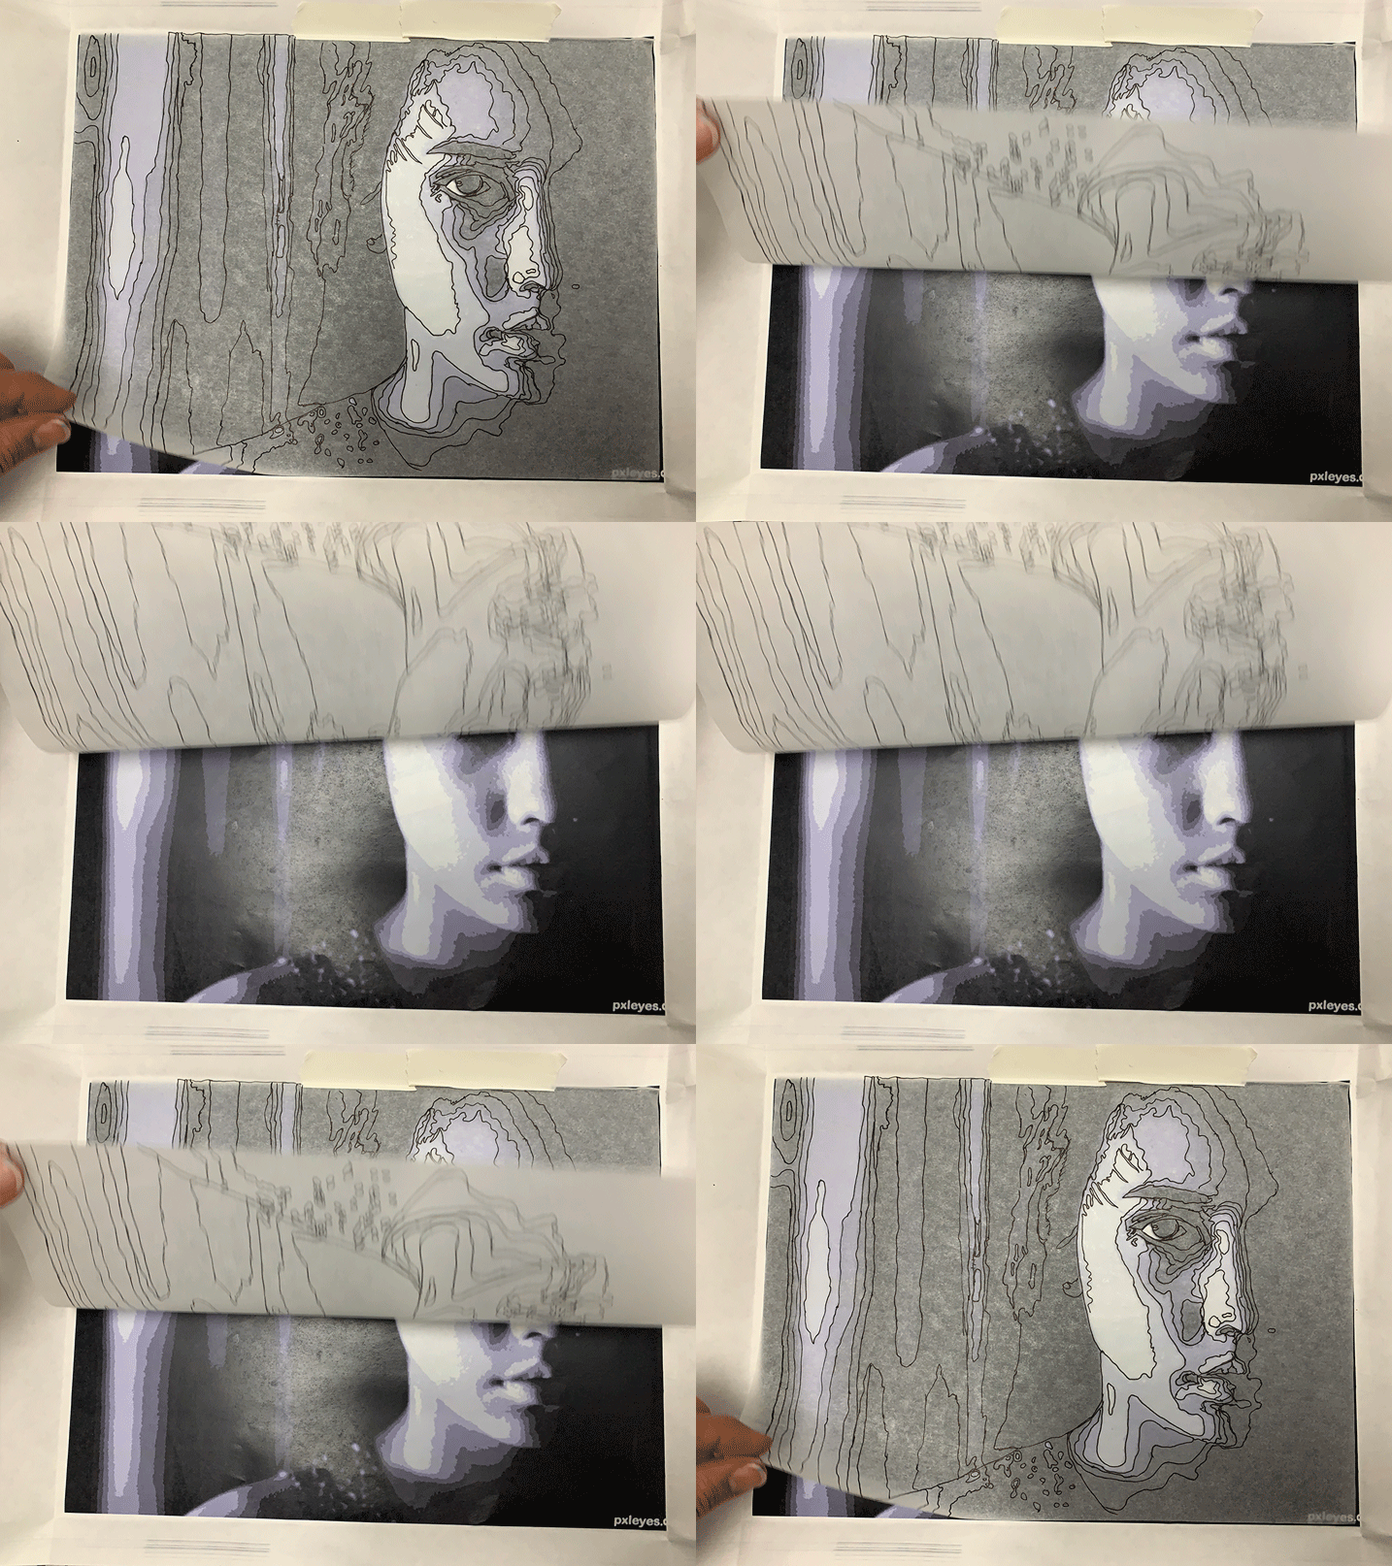
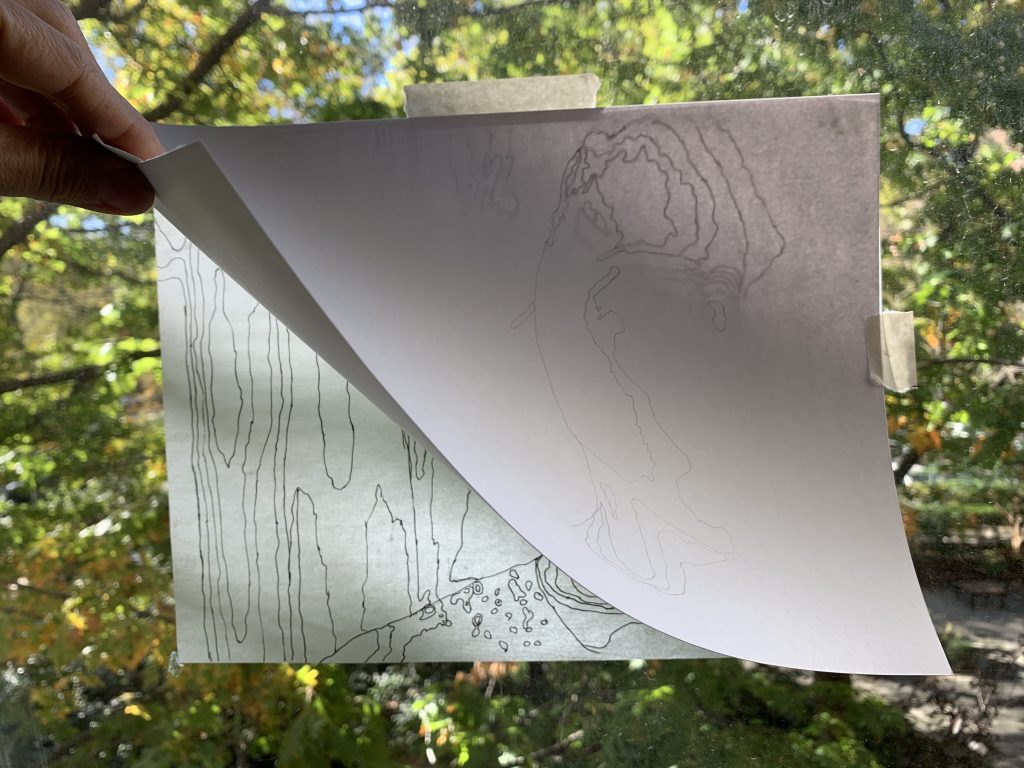
Bristol over trace, tape to window 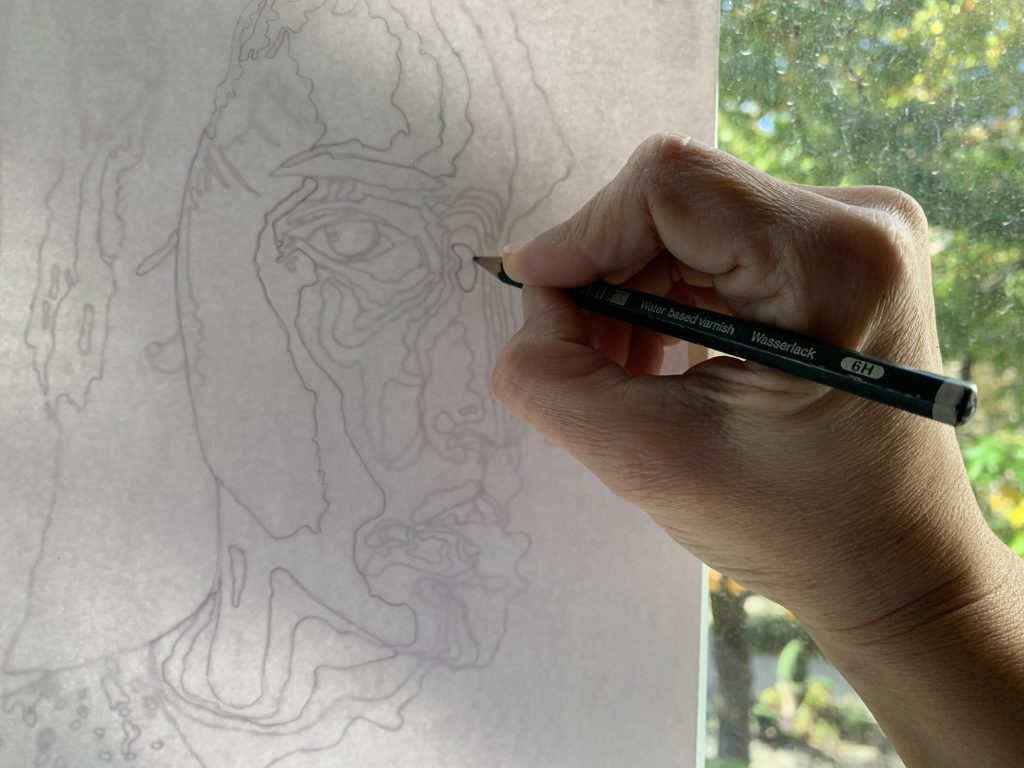
Trace to bristol in pencil
Painting on Bristol
- With your posterized printout as a visual reference, paint each value area using a range of black, white, and gray values. Use your Value Scale as a guide for matching value steps.
- NOTE: The paint will be lighter when it dries. Test your range of values on scrap bristol first.
- When you have completed your composition carefully protect all elements with a piece of clean tracing paper.
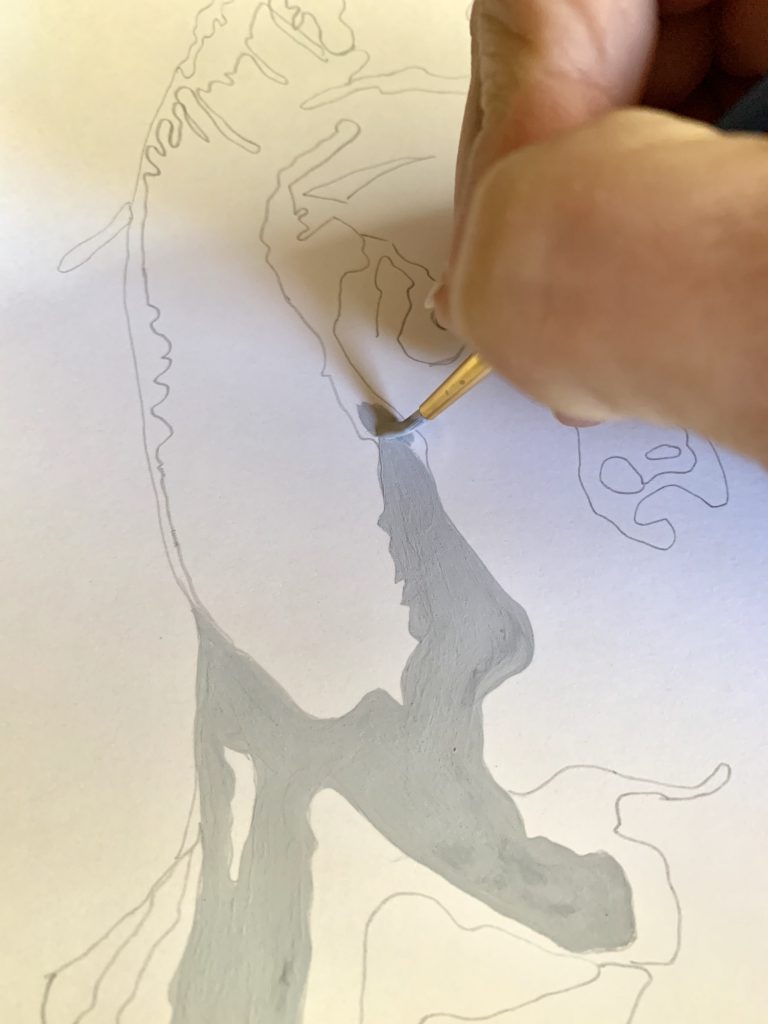
Thoroughly mix paint before applying 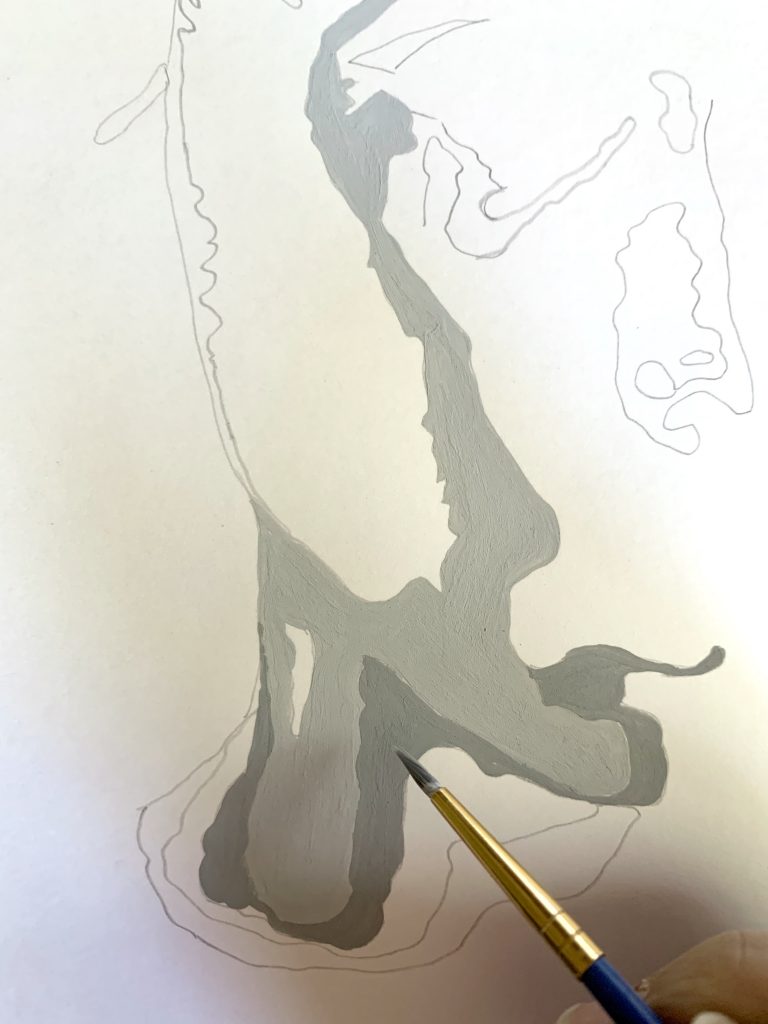
Fill in the range of values
Painting Tips
- Do not worry about accurately rendering an eye, nose or ear, see/think only in terms of value and the boundaries of each value relationship.
- Notice how some values crossover shape boundaries into adjoining areas (open-value), while others are limited by the edges of the shape (closed-value).
- Remember protect your painting with tracing paper as you work. Paint is delicate and can easily pick up the dirt and oils from your hands.
- Before you apply paint to paper make sure it’s completely mixed in the palette to produce a flat consistent appearance. We want flat, blocks of paint without streaks or brush marks.
- Keep two containers of water, use 1 for washing your brushes and 1 for adding water to paint.
- Wash your brush after each value is mixed and applied.
- Use a paper towel or rag to get excess paint and water off the brush before mixing a new value.
Paint to Pixel Transformation
- In Photoshop, open your painting scan: FirstnameLastName.PortraitPaintingScan.jpg
- Adjust Rotation: Image > Image Rotation, if needed.
- If there is uneven framing, use the Crop tool.
- Save as: FirstnameLastName.PortraitTransformation.psd
- View Screen Capture.
- Choose Image > Image Size. Change the resolution to 72dpi and change the Height to 1080 pixels.
- Choose File > Place > Embedded and select your your original Value Portrait. Use the resize handles to adjust the size and placement, if needed. Press return.
- Repeat above for your Posterized Value Portrait, if you wish to use it in your animation.
- View Screen Capture.
- Choose Window > Timeline to reveal the timeline. Choose Frame Animation. Add “keyframes” and transitions or “in betweens.”
- We will create a 10 second frame animation in class; transforming your original Value Portrait into your Painted Value Portrait.
- The goal is to show the transformation of your portrait from one medium to another using only achromatic values.
- In doing so you should think about how you want the transformation to play out.
- Will it be a slow, smooth transition? Or will there be a dramatic, jarring climax in the middle of the transformation?
- Think about the mood/emotion and the story you are telling with the transformation.
- Consider using a blur filter or other subtle effects.
- Keep it simple and limit your palette to grayscale.
- View Screen Capture.
- Save your work as an animated gif.
- File > Export > Save for Web.
- View Screen Capture.
- Preview your animation in a web browser.
- Save your animation to Dropbox or GDrive and create a sharable link to add to your Deliver post.
NOTE: Please DO NOT upload to OpenLab Media Library. - If you missed this class, follow along with screen captures above.
LABS
- Use one of the following labs to complete and print your digital composition:
- Student Labs
General Building 600 - Learning Center Lab
Atrium Ground Floor (AG 18) - Additional Labs and Hours
- Student Labs
4. Deliver
Critique
- Bring all parts of this project to class: Discover, Define, and Develop
- Be prepared to present, discuss and analyze your finished work in terms of concept, craft, what you learned, and the design process.
- State the following: your name, what you are presenting (title and design problem), which parts are successful and why, which parts are unsuccessful and why.
- Your peers and the professor will provide feedback. You will have an opportunity to revise your work based on the feedback to improve your work and your grade.
Documentation and Feedback
Submitting in your work
Follow the Submitting Your Work guidelines and include the project-specific details below:
- Post Title: Value Portraits
- Images: Organize your post to include all content from the three other Design Process phases for this project. Create headings for each phase and include images or a gallery, where appropriate:
- Written Project Reflection: In the Deliver section of your post, document your thoughts about this project. Think about what you learned, what you could have done better (planning, material use, craft), and how you will apply what you learned to your next project. Consider and respond to the comments made in class during the critique.
- Category and Tags:
- Category = COMD1100 Project #3
- Tags = Deliver, Value Portraits
REMINDER: You will receive a grade and comments from the Professor on this post. Without this post, you will not receive a grade.
Providing Feedback
Part of your Project grade is leaving well-written comments for at least one of your peers. Follow the Providing Feedback for specific guidelines for leaving constructive feedback.
