Value-Added Portraits
(All Work Due Class 15 – 10.23.09)
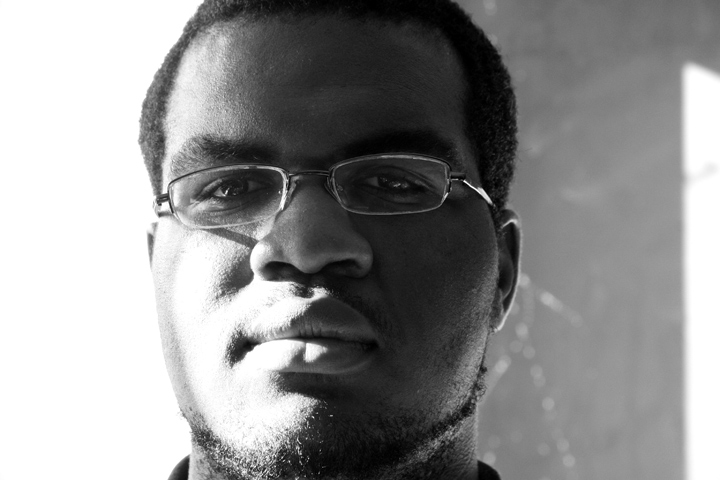
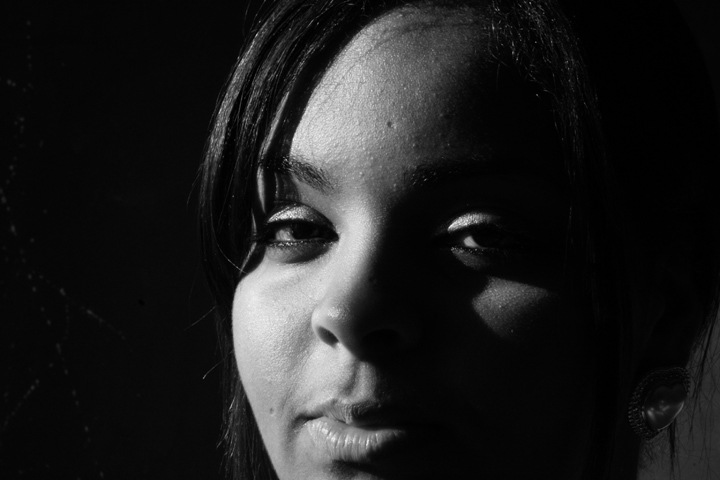
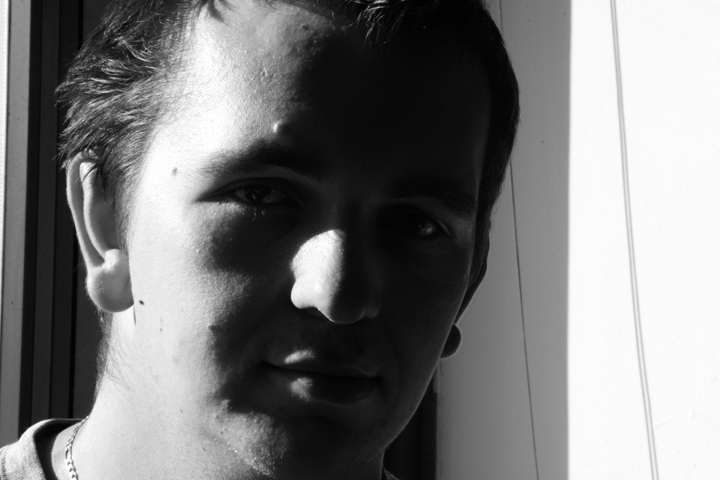
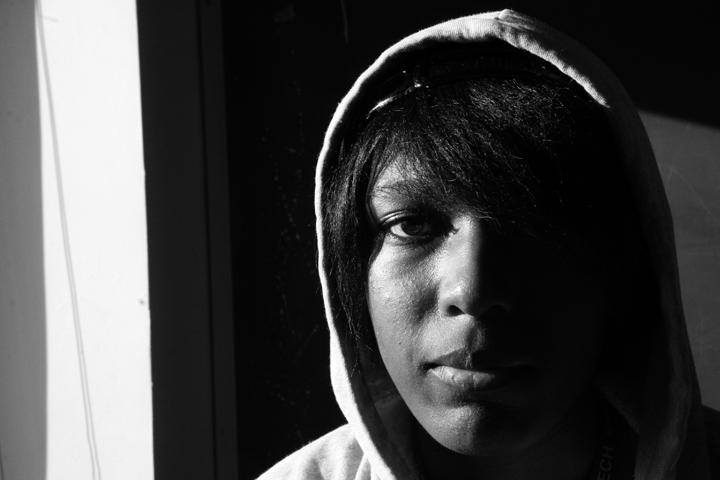
Problem: Create unified achromatic gray compositions with defined visual hierarchy and an area of emphasis, based on photographic portraits.
Limits: Compositions will use broad and narrow value ranges in high and low keys.
Materials: Creative Process Book, pencils, Bristol Board 9×6″, Bristol Board 14×17”, gouache paints, brushes, palette, rags, water container, scissors, exacto knife, ruler/t-square, glue.
Concepts: Value, grayscale, achromatic, emphasis, tonal contrast, shadow, highlight, narrow value, broad value, high key, low key, mixed key, open-value composition, closed-value composition.
Technical Skills: thumbnail sketching, painting techniques, draughmanship with ruler/t-square, exacto knife and collage.
References:


Procedure:
- Research / Inspiration (DUE Class 9)
Writing- Designate a new section of your Creative Process Book and write ‘Value-Added Portraits’.
- From magazines or online sources, find examples of achromatic grayscale photographs, paintings, or graphic design with the following qualities:
- predominately within the high-key value range (2 examples)
- predominately within the low-key value range (2 examples)
- Compose a minimum 2-paragraph description, with specific references to the images, indicating how the key sets the mood of the composition. Also notice and report how the forms in the composition create highlight and shadow relationships, some may be abrupt other may have a gradation of value from light to dark. How does this contribute expressive quality (mystery, drama, success, joy, etc) of the compositions?
- Experimentation / Iteration (DUE Class 9
Value Scale- Create a Value Scale (a graduated scale of achromatic gray tones).
- On a piece of 9×12″ bristol, use this guide to create 4 scales starting with 2 steps and ending with 9 steps ranging from black to white in even, progressive increments.
- Label (in good handwriting) your 9-step value scale with black, low dark, dark, high dark, mid-value, low light, high light, white.
Collages
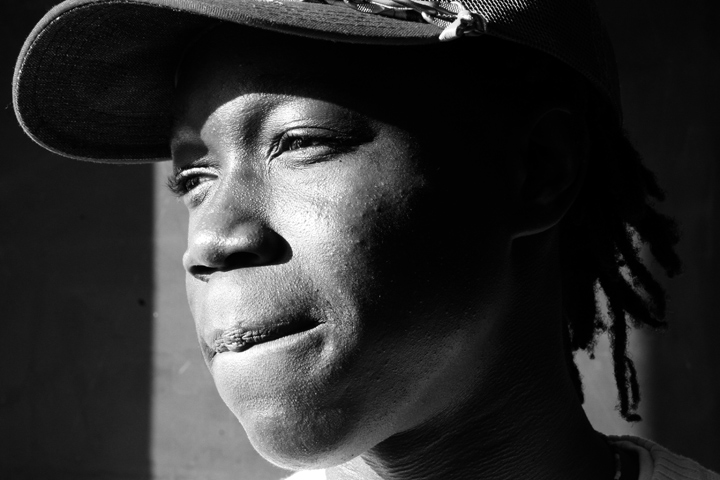
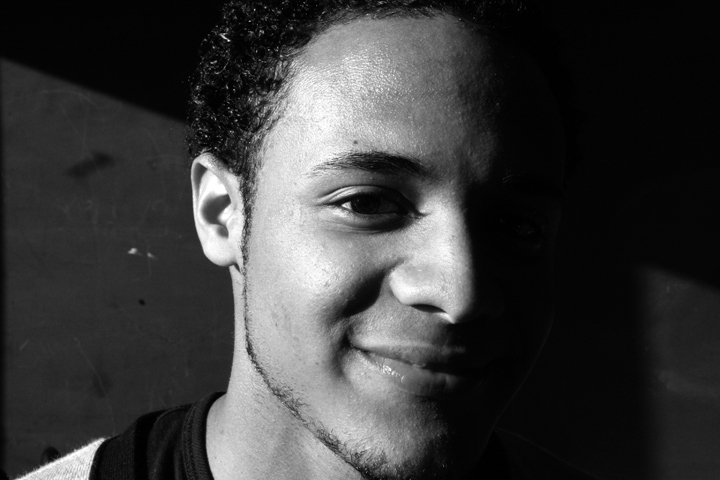
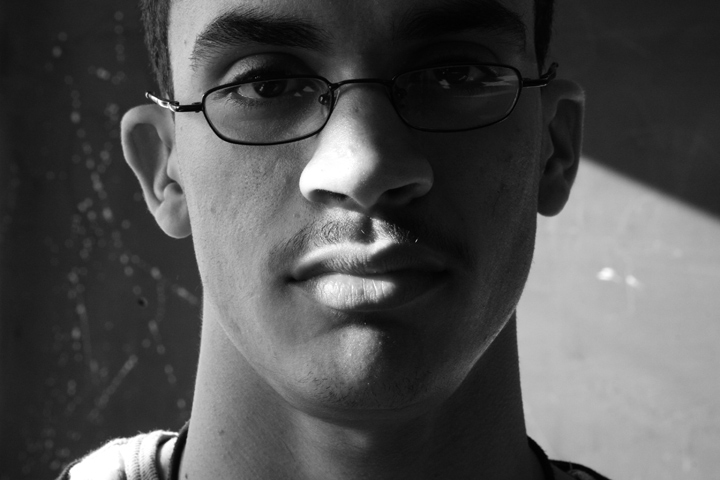
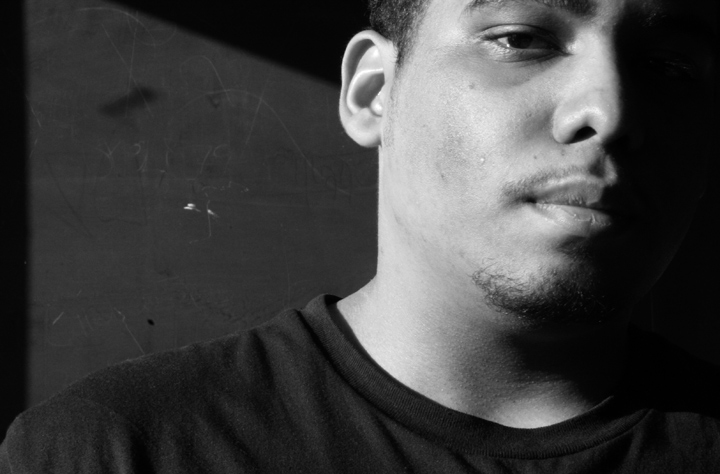
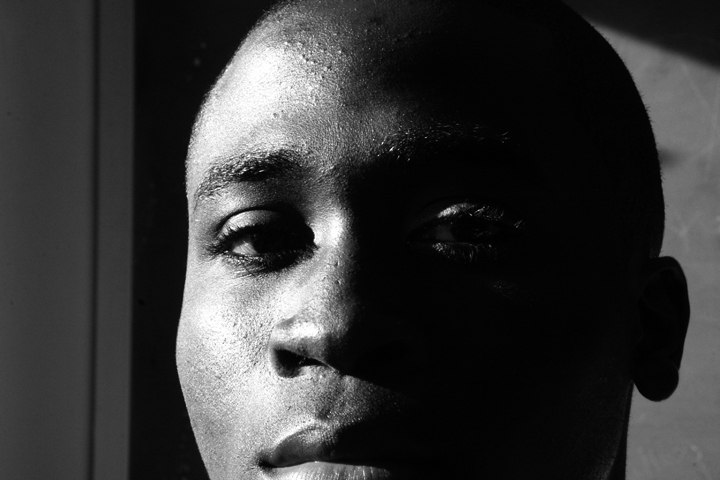
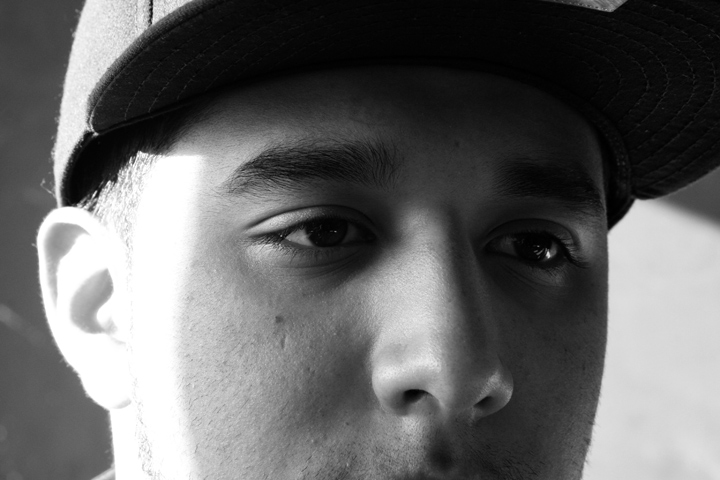
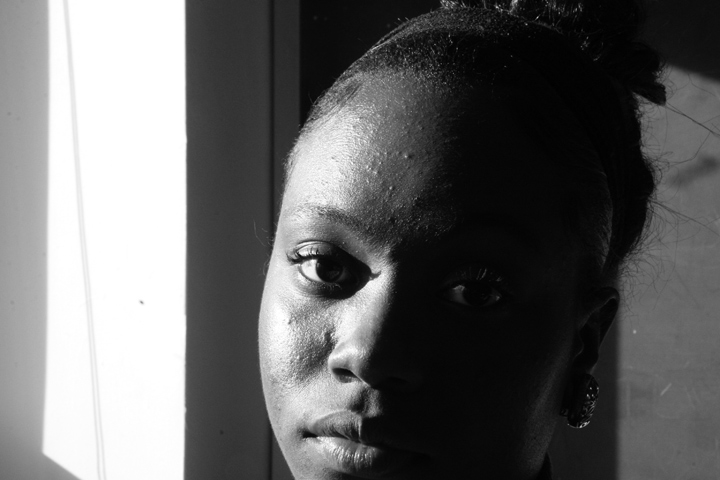
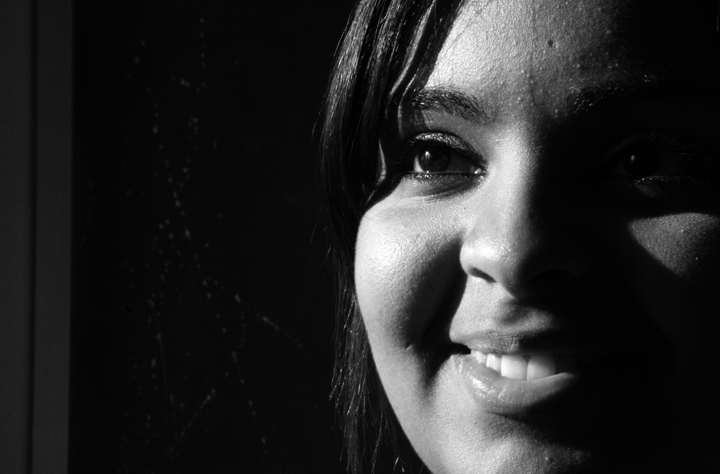
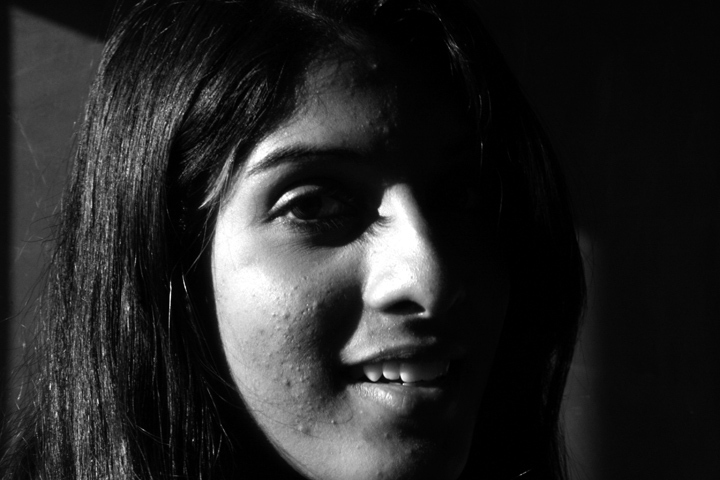
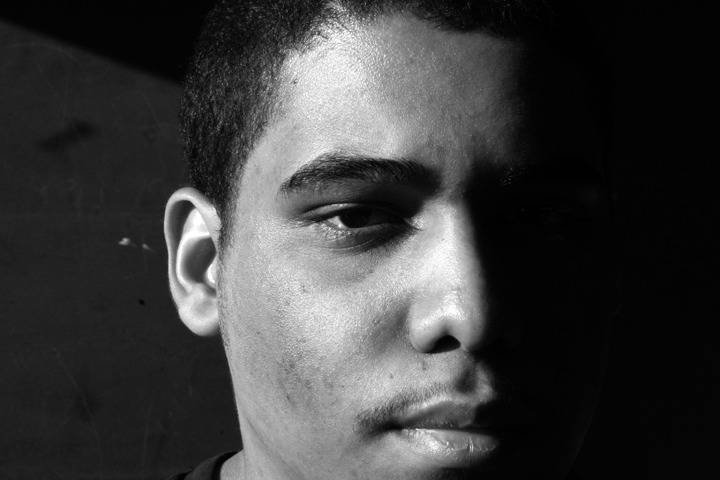
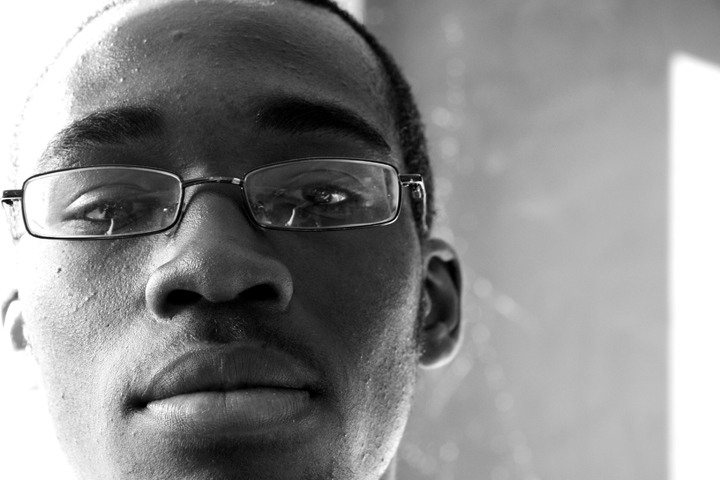
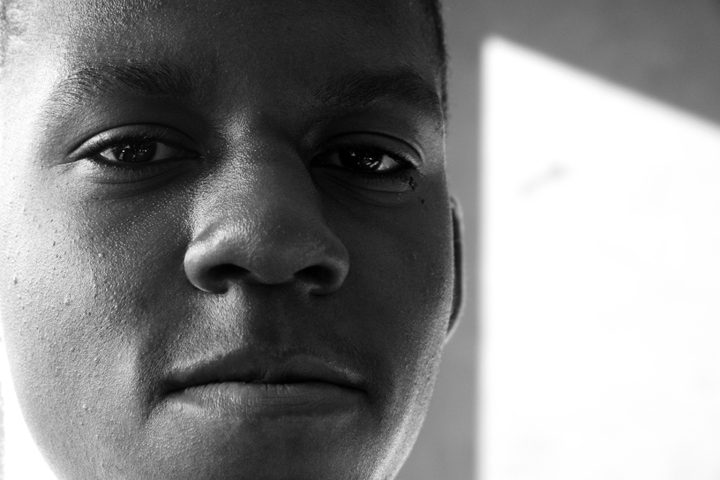
- Using the printouts of the portraits taken last class, transfer the grid provided to the printouts. Measure, mark in pencil, and cut out each square carefully.
- Rearrange and experiment with your portrait pieces until your develop 2 unified compositions as follows:
- (1) Narrow Value Range: either high-key or low-key
- (1) Broad Value Range
- (Both) Emphasis: create a focal point wherein one area or element is emphasized (even within the narrow range) through size, placement, value contrast, or isolation.
- DO NOT GLUE THEM DOWN YET! For each square, mark the top and give each a number on the BACK. Have the Professor review your work before continuing.
- After review, you may mount each square to bristol for stability, but keep the squares separate for now and in good shape. Make sure you keep them properly marked and numbered.
- Expression of Form, Emotions, or Concepts
Paintings (Part 1) – (DUE Class 14)- For each composition, take a piece of 9×12″ bristol and (in pencil) measure out the size of your composition with a corresponding grid. Very carefully, cut out each piece. You will be painting on these pieces, so keep them clean and neat.
- Using your Value Scale as a guide, you will be recreating each square using a range of black, white, and gray values, achieving continuous tone in areas where highlight and shadow blend together.
- Do not worry about accurately rendering an eye, nose or ear, think only in terms of value, the boundaries of each value shape relationship.
- Notice how some values crossover shape boundaries into adjoining areas (open-value), while others are limited by the edges of the shape (closed-value).
- Work on each square independently, but refer back to the original overall composition as you work.
- When you have completed each composition carefully protect all elements with a piece of clean sketchbook paper and cardboard.
- We will mount both the original photographic collage and the painting together in class.
Paintings (Part 2) – (DUE Class 15)
- If we can gain access, we will be working in the computer lab.
- Open your photo-portrait file in Photoshop.
- Open a new file: 11″x8.5″, 300 pixels per inch, grayscale.
- Save your file with your first initial and last name and the project title:
For example: jsmith_value_added.psd - Using the marque tools (rectangle, ellipse), select portions of your original photo portrait and copy and paste them into the new document.
- Create a Broad Value Range composition that produces RHYTHM/REPETITION, a sense of MOVEMENT, a clear understanding of changes in VALUE from white to black, and an understanding of EMPHASIS.
- Use layers to rearrange your “collage” pieces.
- If your file begins to grow to large (over 50MG), select and merge layers as appropriate to reduce the file size.
- Save your file to your flashdrive, CD or server (if accessible.)
- DO NOT USE FILTERS, COLOR, OR ANY OTHER TRANSFORMATION TOOLS.
- Print your final file in Black and White.