October 4, 2018
What’s needed for this class?
- Project #2: Phase 2 > Inked Mashup completed or in progress
- Materials: Inking pens, 9×12″ bristol, ruler, t-square, triangle, thumb drive
Check Your Project #1 Grade
- Find your private Project #1 grade and a comment on your Phase #4 Deliver post.
- You may also locate the “Check Your Grade” link in the sidebar of the Ways of Seeing site to see your grade.
Notes about your grade:
- If you have any problems accessing your grade or have questions about the grade you received, please let me know immediately.
- If you did not “Deliver” your coursework via the Phase #4 Deliver post or would like to improve your grade, you have until Midterm (Class 15) to rework and resubmit your work.
- When you fail to submit your work on the date due, points are deducted from your grade.
- An F means that you did not post your Phase #4 Deliver post.
- An INC or — means you are missing some part of the project, but have the opportunity to submit it to improve your grade.
- Check the Project Rubric to see how your project was graded.
Peer Critique
- Pair up with an fellow student. Someone you haven’t worked with before.
- Present your Inked Mashup for critique.
Mashup Discussion
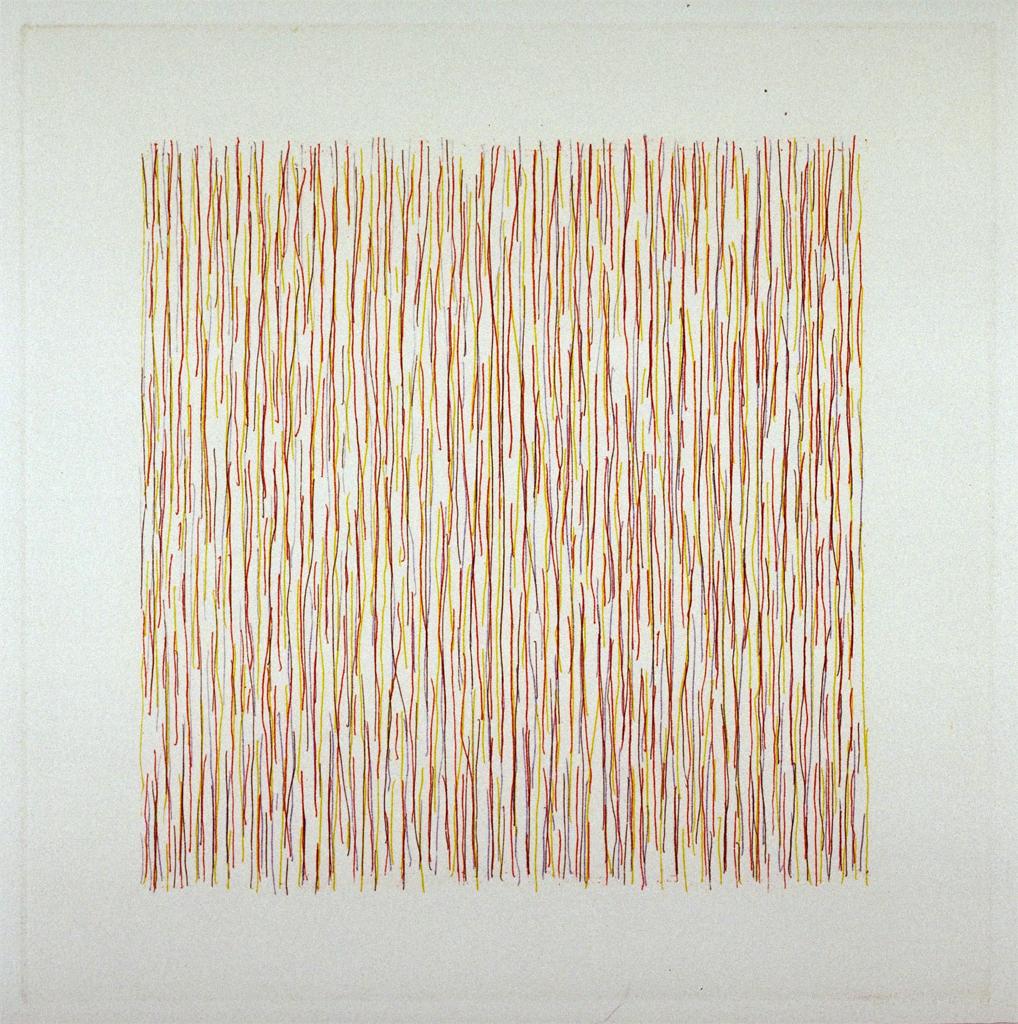
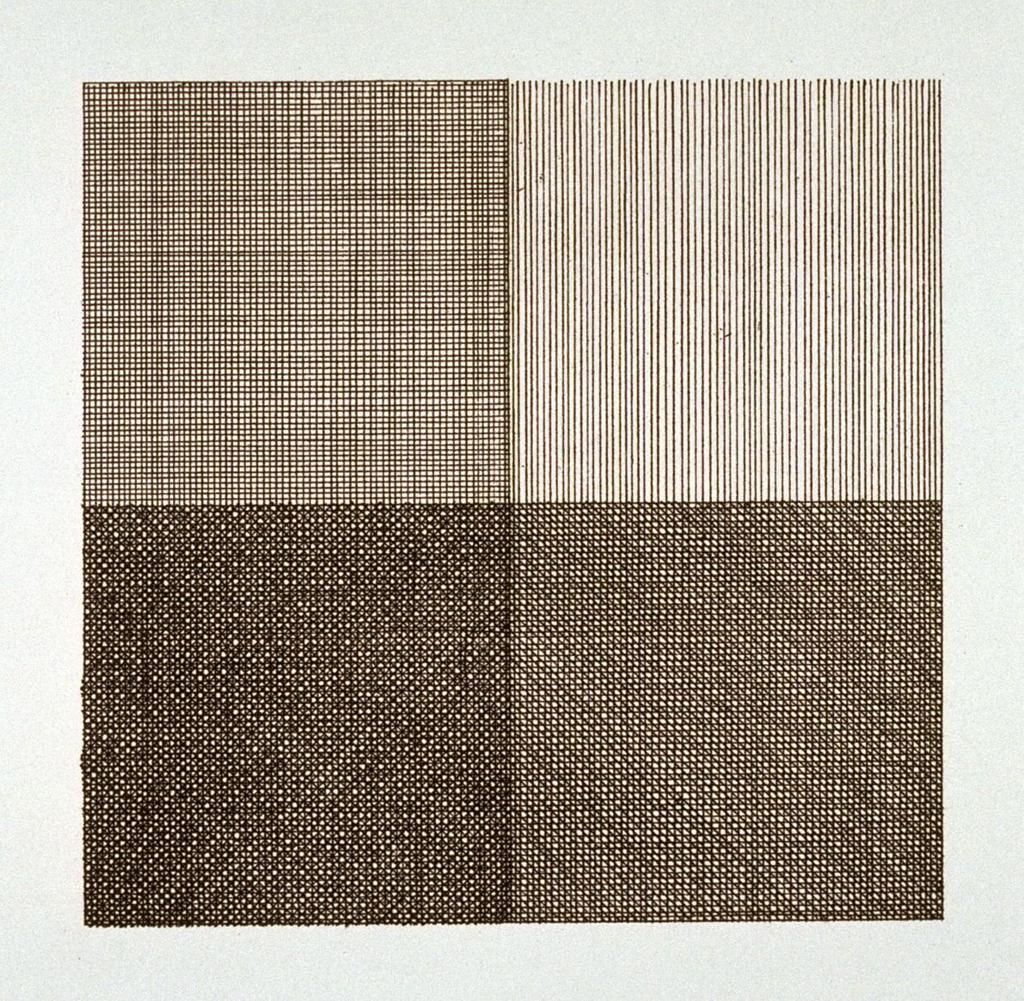
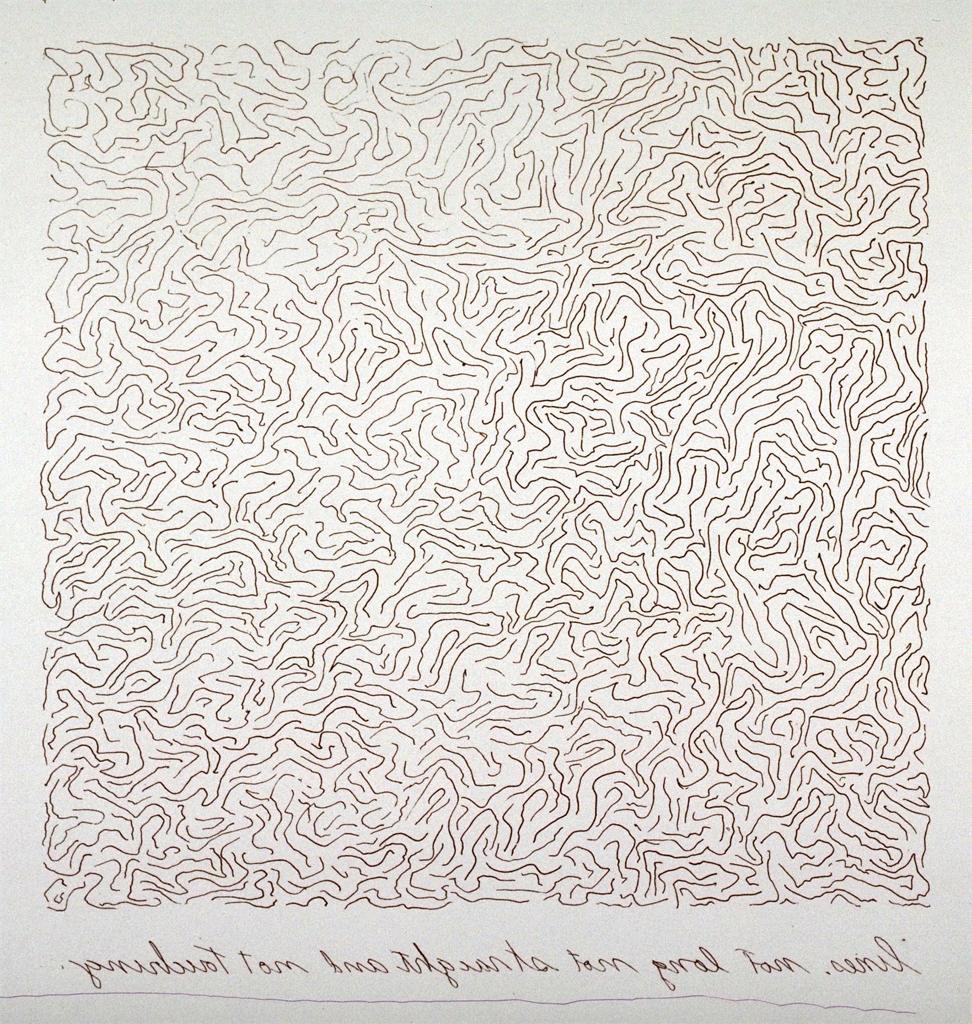
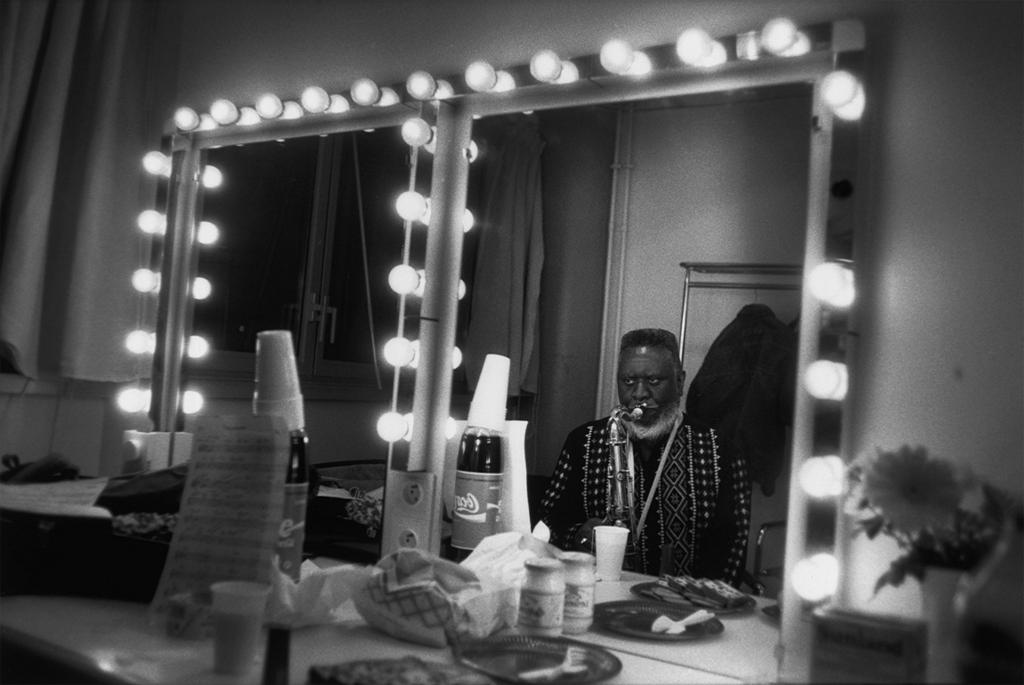
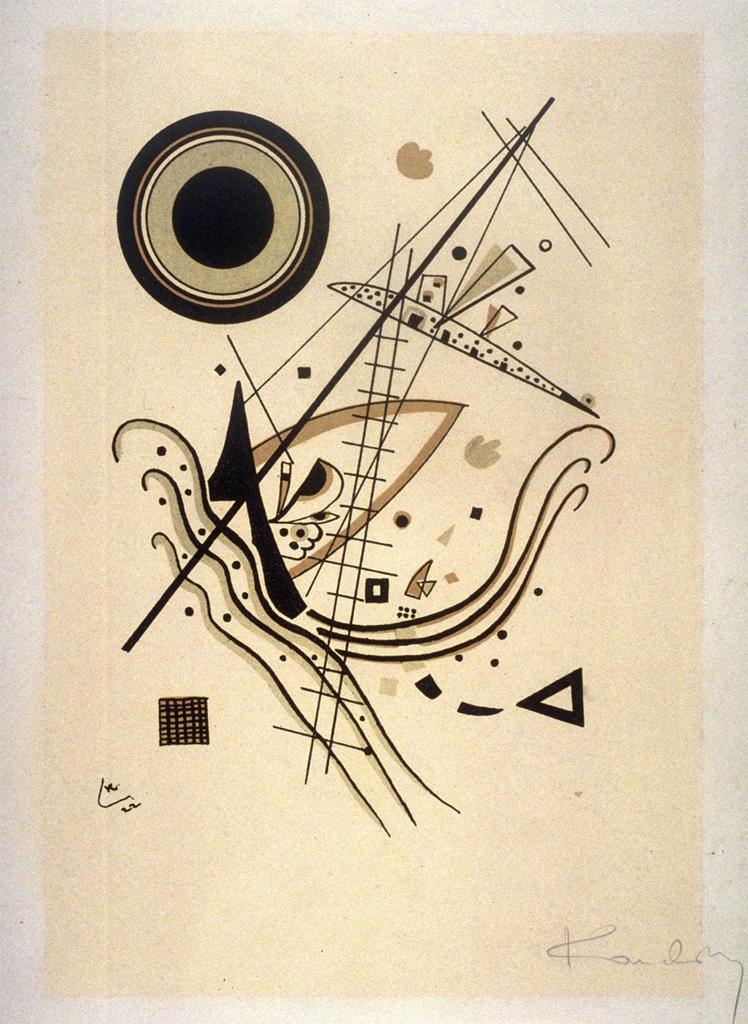
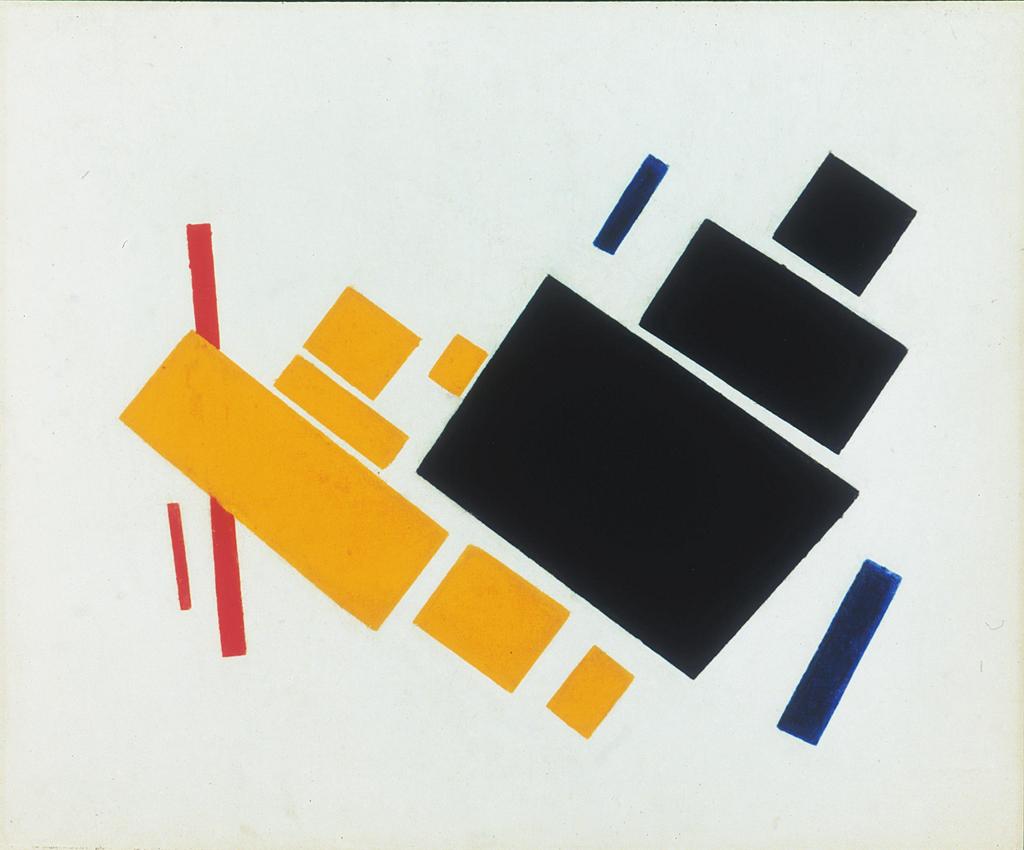
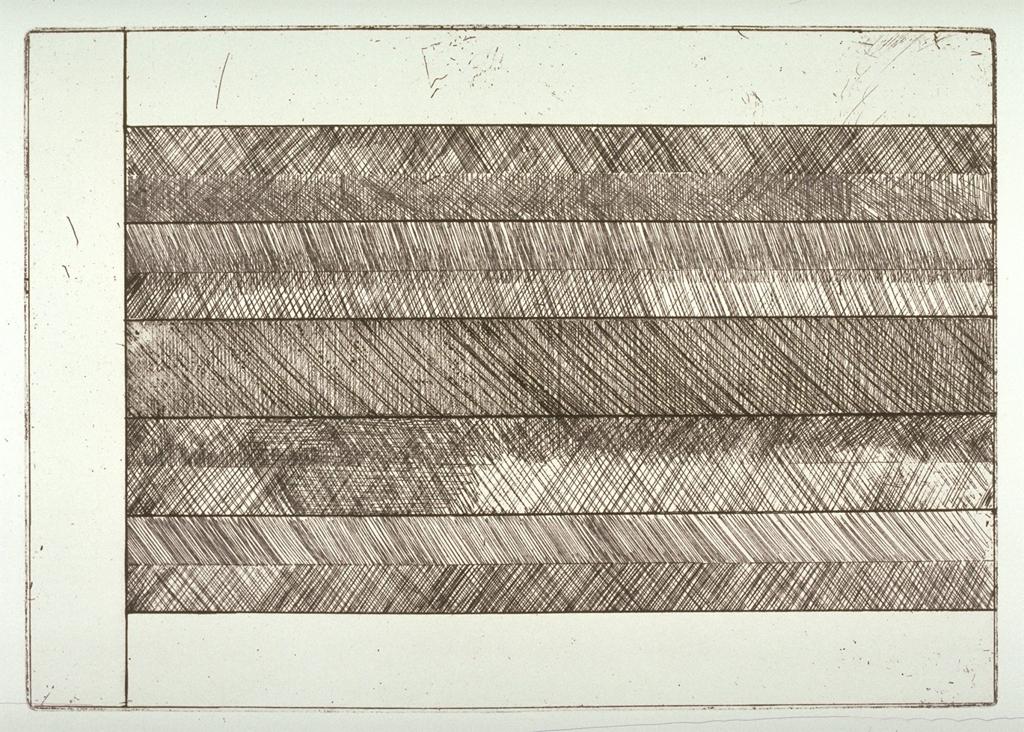
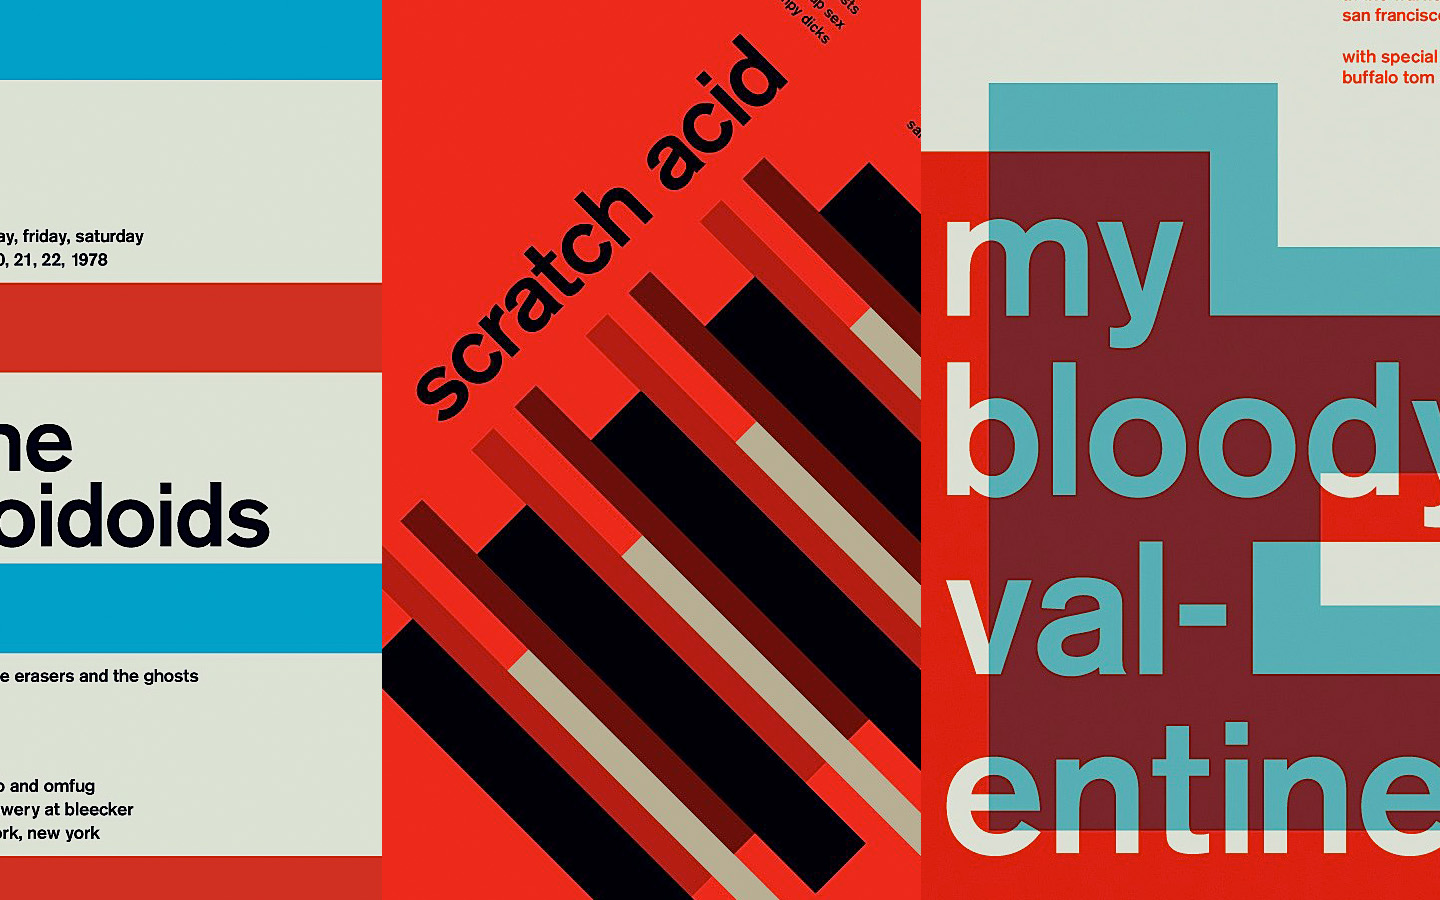
Student Examples:
Mashup REFERENCES:
- “Hahahrawrrahaha” | Original
Someone made a song using Jeff Goldblum’s weird laugh from Jurassic Park - Brian Williams Rap Mashup “Rapper’s Delight” | Original
- ‘The Great Gatsby’ Mash-Up Turns Leonardo DiCaprio Into a ‘My Little Pony‘ | Original
- A Designer’s Midcentury-Mod Music-Graphics Mashups
- Esoteric mash up
- The Magic of Mashups – Corporate Logos
- 7 Mashups That Will Change The Way You Look At Music Forever
- Design in Nature (Patterns)
Lab
- Work independently, diligently, and quietly to finish your Inked Pattern Mashup.
- Meet with Professor to make sure you are on track for success in this course.
- If you finish your inked mashup, please come up to have it scanned.
Homework
- DUE: Phase 2: Define > Inked Mashup
- Final inked version of your Pattern Mashup on 9″x12″ bristol board.
- DUE: Documentation and Feedback
- Create a new blog post called Sound Visualizations: Phase 2.
- Take a photo or scan of your finished Inked Pattern Mashup and add it to the post (make sure it is well-lit and in focus.)
- Include the hours that you worked on this part of the project and a brief description of the work.
- Don’t forget to comment on at least 1 other student’s post.
- We will not have class on Monday, but the work is still due via your post. 🙂
Materials Need for Thursday (next class):
- Bring the final inked version of your Pattern Mashup on 9″x12″ bristol board.
- Your Glossument Book with at least (2) glossary words visualized in the graphic style of your choosing.
- Thumb drive to save your animation work.


